|
|
Post by procuda on Sept 1, 2009 19:10:23 GMT -6
Okay all, people have asked me repeatedly how I make my turbos...so I have taken the time to put something together so that we can see more turbo builds on this forum. Okay lets get started! But before we begin, we need to understand the placement, connections, mounting and in general a basic understanding of the common day turbocharger. 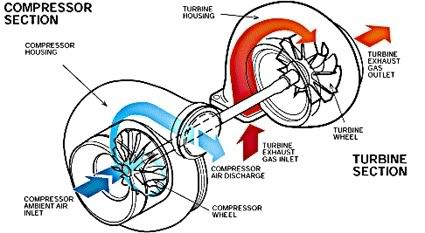 A turbo makes boost by the exhast producing pressure in the turbine housing spinning the turbine wheel. The turbine wheel is attached to the compressor wheel which produces boost and with additional fuel (more air, more fuel required to burn it) it created insane horsepower and massive torque. You will have to make custom headers that will connect to the turbine housing (refer above). Your compressor housing will have to connect to either your intake elbow or go to your air/air intercooler or your air/water intercooler. The back hole of the turbo is your new exhaust outlet, which means your exhaust will have to be rerounted from there(not always an easy task since turbos can be mounted in remote locations). continued below. |
|
|
|
Post by procuda on Sept 1, 2009 19:27:33 GMT -6
To contrust a turbo, it is fairly simple. You may mess up on your first shot, but once you get the hang, its like clockwork. To begin you will need: -small vice with a small piece of 3/16 steel pipe in -lighter, candle may not work as well. alot of soot produced by a candle as well. -sandpaper (grit not important, anything above 800 will work) -hobby knife, exacto blade... - Liquid glue, no CA glue. Plastruct Plastic Welder is great. About 30 sec work time, fills gaps.. I stand by this product 100%. - 3/16 Plastic tube -depending on turbo size you can use: 0.080 rod, 0.100 rod, 1/8 rod. 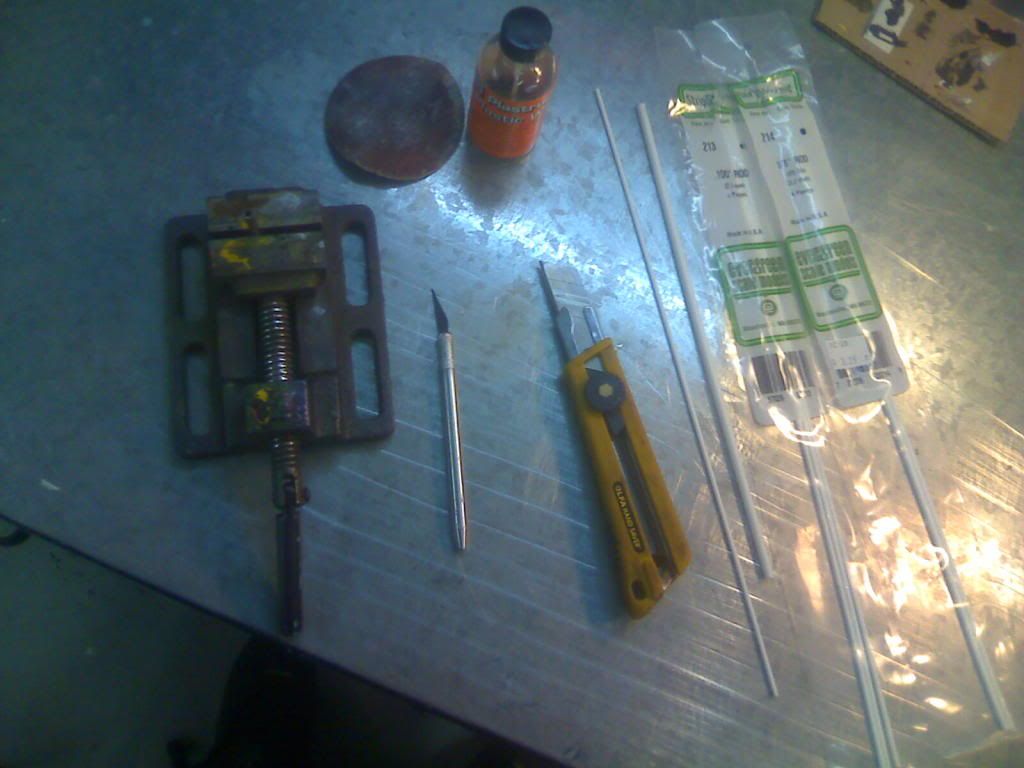 I wouldent go any bigger than 1/8 on the compressor side. side note: compressor housing will ALWAYS be LARGER than the turbine side. Cut a small piece of the 3/16 tube about 0.300 long. 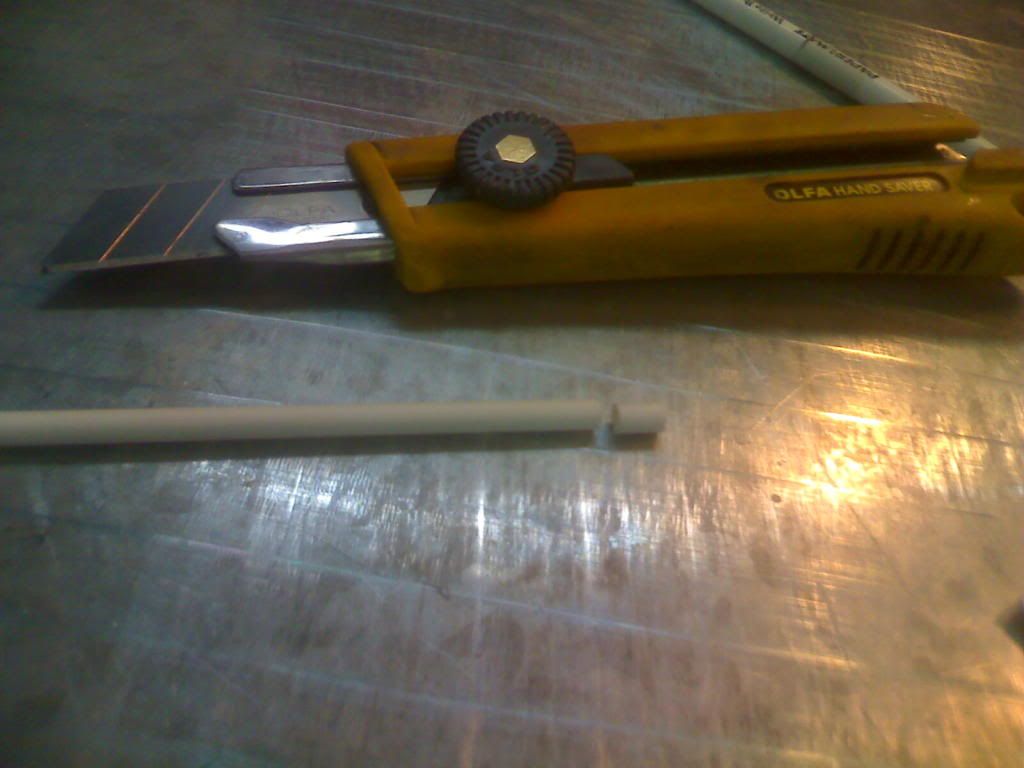 i used 0.100 rod and 1/8 rod on my demonstration piece. 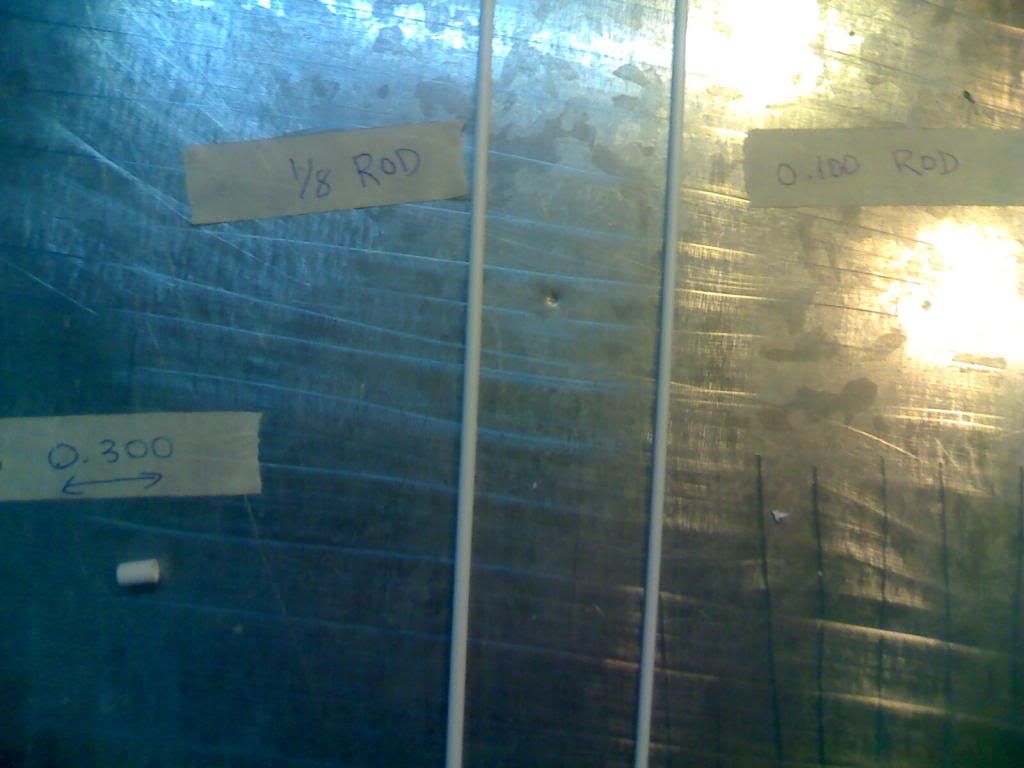 contined below. |
|
|
|
Post by procuda on Sept 1, 2009 19:37:45 GMT -6
Next you will want to get your 1/8 rod.  Get your vice(or whatever your using to form your housings HAS TO BE METAL!) and get your lighter and work the heat through about 2-3 inches of your rod. Once it starts to get a little floppy and the consistency of rubber, wrap it around the 3/16 metal rod.   You will complete this process for the compressor and turbine housings. Once both are formed (AND POINTING IN THE RIGHT DIRECTION!!!!) you can cut them off of the rest of the rod. See below. NOTE: compressor inlet should be pointing to your left when on the bottom. turbine will point the opposite way.  Do not cut too much or your housing will be incomplete. When you look at it flat, you shout see it continue all the way around, and it shouldnt end anywhere within view.  Next you will want to get your sandpaper and smooth down the back side of both compressor and turbine housings.   Then you can cut your inlets to length. You can usually eyeball the length. IMHO its whatever you think will work best for fitting and placement as well as what looks best. continued below. |
|
|
|
Post by procuda on Sept 1, 2009 19:53:53 GMT -6
Now you can glue your compressor housing to your 3/16 tube.  YOU ARE AT A MILESTONE!! This is very important because your headers have to be in place and ready for your turbo. If your headers are not made yet...STOP go back 2 spots, pay luxury tax! you do not pass GO and you do not collect $200 LOL. Make them asap with turbo placement in mind ie compressor inlet, turbine inlet, turbine exhaust...etc. Performance turbochargers have clockable housings to make for easier mounting. Once headers have been made, you can glue your turbine housing in place.  You can then add a mounting flange on the turbine inlet. Your choice stictly. Precision Turbo makes them without flanges and with "V-band" clamp rings moulded in. As you can see below, my headers can be a dousy to make!  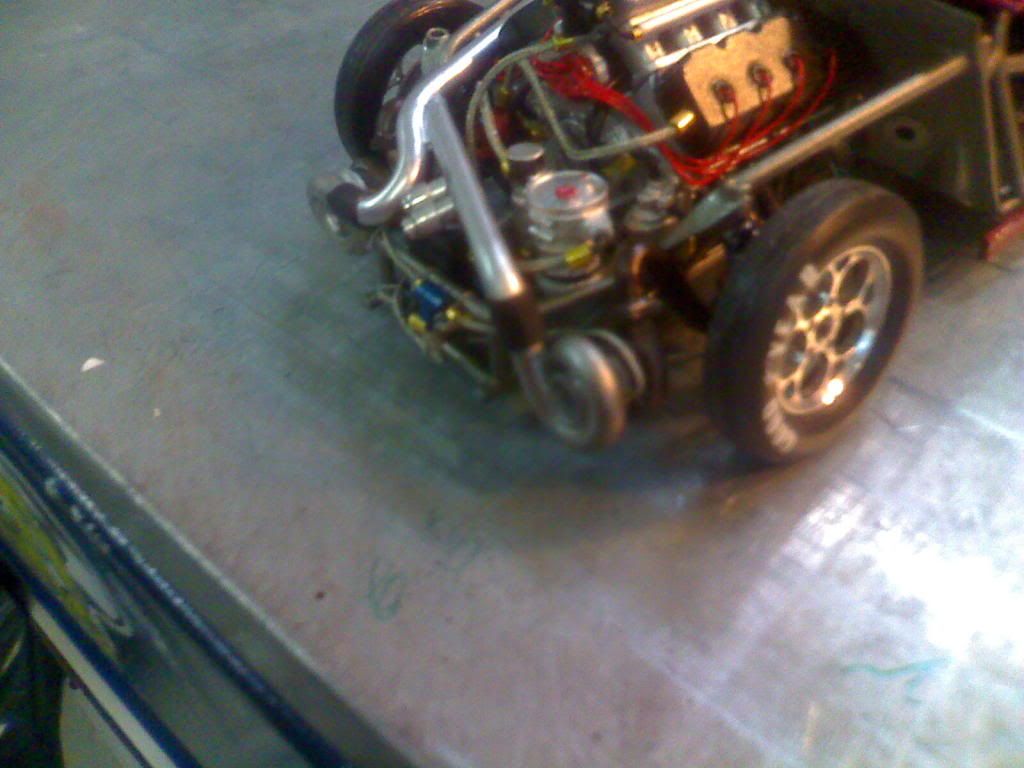 It was my pleasure to put this together. I hope it helps everybody get a better understanding of turbos and make them utilise them on there up and coming builds. Remember you can also use this technique for making a blower or procharger (centrifugal) If you have any questions, ask away! Thanks! JC |
|
|
|
Post by vegadeth on Sept 2, 2009 10:05:26 GMT -6
:DThanks JC!!,,GREAT TUTORIAL!!! Will be sure to use this info!!!
John V.
|
|
|
|
Post by procuda on Sept 2, 2009 16:28:44 GMT -6
no problem, hope i made it clear on my process.
Thanks
JC
|
|
moparmike
Pit Crew
 "There is nothing to fear but fear itself"
Posts: 172
|
Post by moparmike on Sept 2, 2009 22:33:39 GMT -6
AWESOME I always wanted to do one but just wasn't sure how to do it. Thanks now I know how. Thanks again
|
|
|
|
Post by procuda on Sept 3, 2009 14:02:52 GMT -6
it was a pleasure to put this together
i hope i will see many more people attemp turbo setups now/
|
|
|
|
Post by mistertwister on Sept 3, 2009 15:24:18 GMT -6
Excellent stuff! Thanks for sharing with us.
|
|
|
|
Post by procuda on Sept 3, 2009 17:56:02 GMT -6
thanks darryl.
please check your p/m's
I will be looking for some turbo builds on here now that ive posted this.
|
|
clutch
Pit Crew
model car outlaw
Posts: 35
|
Post by clutch on Nov 16, 2010 0:37:30 GMT -6
very nice how to,some great fab work on that turbo,clutch
|
|
|
|
Post by bad440 on Nov 13, 2011 21:46:18 GMT -6
here's one i made,nice way to make a turbo out of scrap.i made a large one for this unlimited road runner build. Attachments:
|
|
|
|
Post by bad440 on Nov 18, 2011 8:34:03 GMT -6
engine for 70 road runner, ;D Attachments:
|
|
dogfish7
Junior Dragster Champion

Posts: 400
|
Post by dogfish7 on Nov 19, 2011 16:17:56 GMT -6
Now this is one I've been looking for! Awesome!!  |
|
|
|
Post by bad440 on Dec 8, 2011 2:45:36 GMT -6
this ones for 66 442 blo thru Attachments:
|
|