|
|
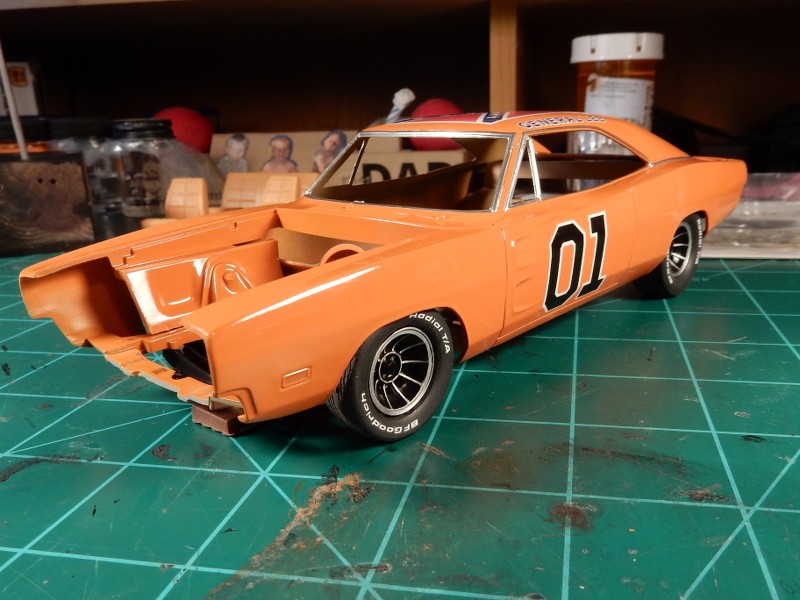
Post by mustang1989 on Jan 21, 2020 10:18:08 GMT -6
Here's after the initial work on the chassis, drivetrain and exhaust system: 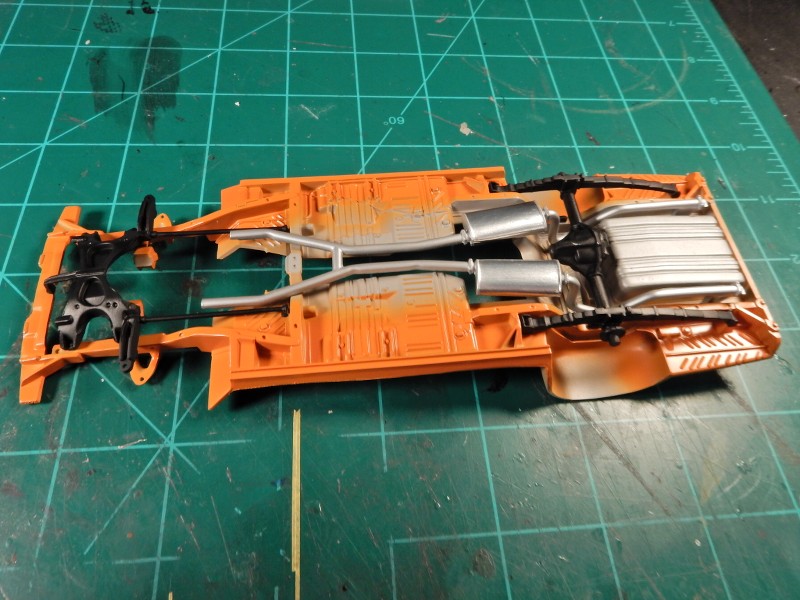 I applied a subtle wash to the undersides to bring out some of the details and add some depth. I also hit up the leaf springs and differential edges lightly with a silver lead pencil: 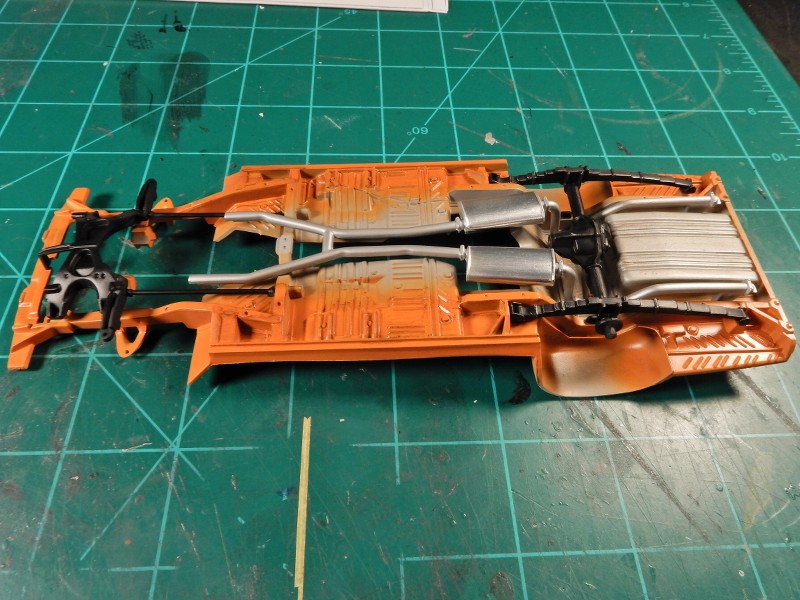 |
|
|
|
Post by mustang1989 on Jan 22, 2020 8:17:27 GMT -6
|
|
Deleted
Deleted Member
Posts: 0
|
Post by Deleted on Jan 22, 2020 14:56:51 GMT -6
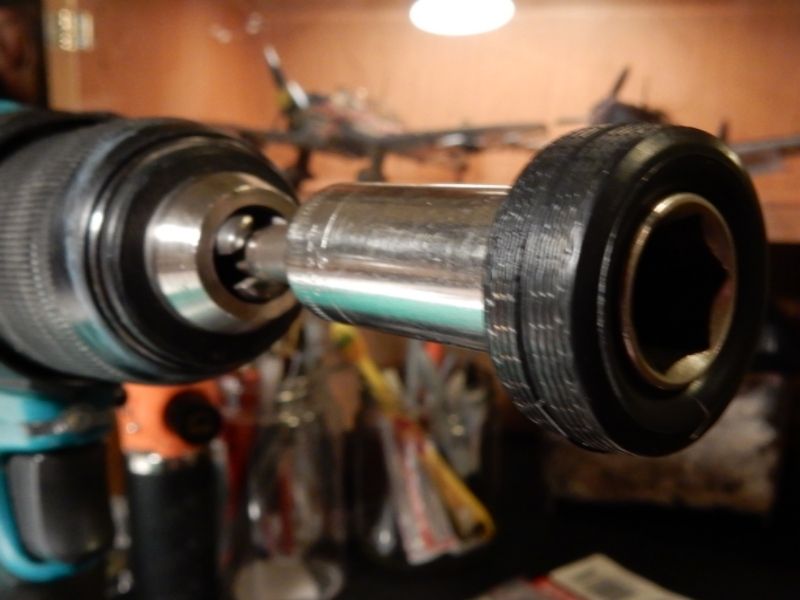
That's a great tip! I never thought of using a socket. 2 thumbs up!
|
|
|
|
Post by mustang1989 on Jan 22, 2020 15:53:04 GMT -6
That's a great tip! I never thought of using a socket. 2 thumbs up! Thanks Steve. I was sitting around one day just trying to figure out how to get the most even look on tire wear and it just ….."DING" …...came to me. lololol |
|
Deleted
Deleted Member
Posts: 0
|
Post by Deleted on Jan 22, 2020 17:08:16 GMT -6
I sure appreciate it. I've sat around a few days thinking the same thing.
|
|
|
|
Post by mustang1989 on Jan 23, 2020 10:41:33 GMT -6
|
|
|
|
Post by 41chevy on Jan 23, 2020 12:31:31 GMT -6
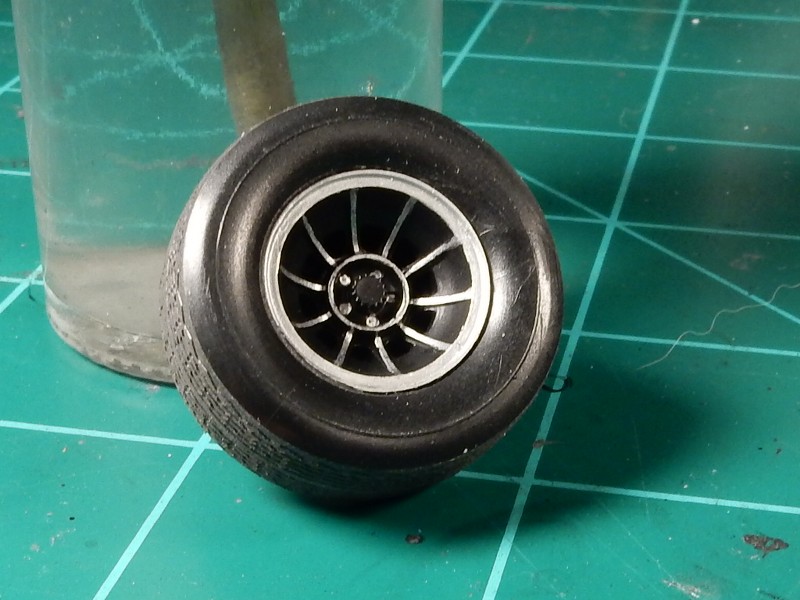
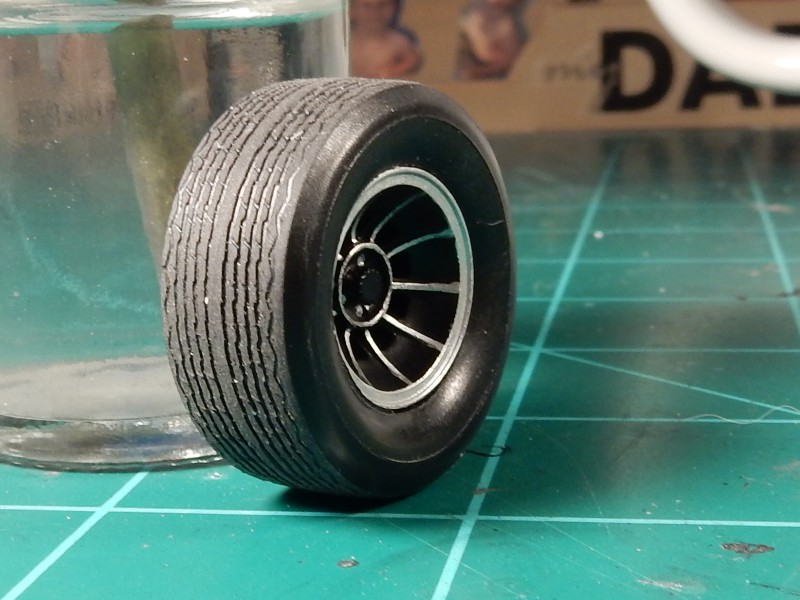
Wheels are spot on. That was always a nit with me that some think close enough is good enough. Ruins the overall look IMO. Paul
|
|
Deleted
Deleted Member
Posts: 0
|
Post by Deleted on Jan 23, 2020 13:42:35 GMT -6
They look great. Nicely done.
|
|
|
|
Post by mustang1989 on Jan 23, 2020 15:07:26 GMT -6
Thanks Paul and Steve.
|
|
stevielewis
Junior Dragster Champion
 Is that....?! What I think that is....?
Posts: 341
|
Post by stevielewis on Jan 23, 2020 16:21:34 GMT -6
You did a great job on those wheels and tires. That is going to be one sweet build.
|
|
|
|
Post by mustang1989 on Jan 27, 2020 14:45:06 GMT -6
You did a great job on those wheels and tires. That is going to be one sweet build. Thanks Stevie. This'll be my second go round with these door panels as I didn't prime them before painting the first time and the paint lifted when I tried to apply the BMF to the trim areas. Bummer! So I stripped them and began with priming this time but ended up using Molotow Chrome the second time instead of BMF. Picked up this new acrylic primer from Badger called STYNYLREZ. It's an acrylic polyurethane primer and I was pretty impressed with the results. 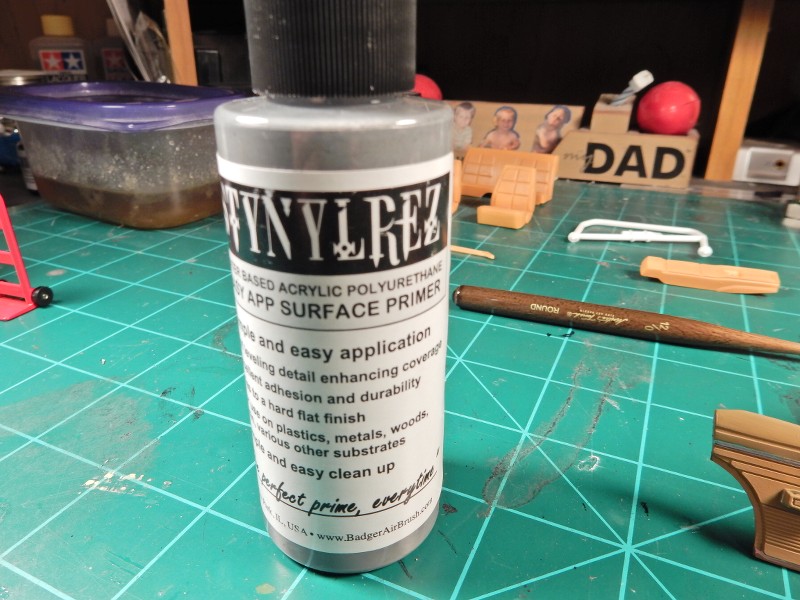 Just apply in thin coats and it goes on smooth as a baby's butt: 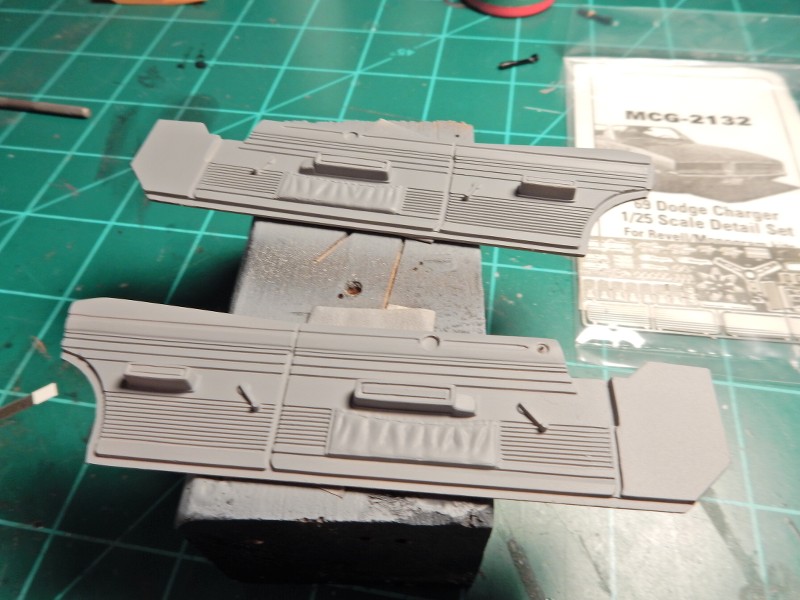 Finished door panels. I used RLM 79 with some shadowing here and there and chromed the details and trim with Molotow Chrome: 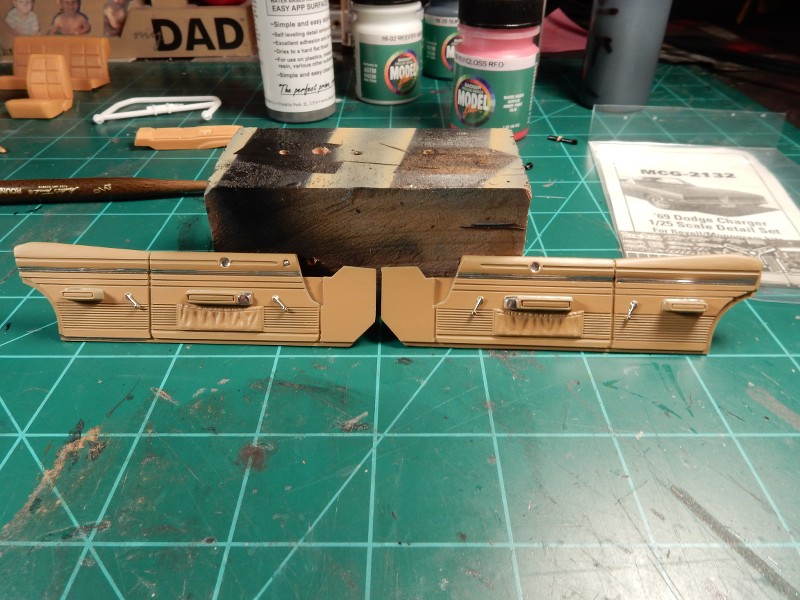 Got the console about 95% of the way done. Still need to install the shifter but I've got to do some clean up work on it first.  |
|
Deleted
Deleted Member
Posts: 0
|
Post by Deleted on Jan 27, 2020 15:33:22 GMT -6
Those door panels and console look great. Nicely done!
|
|
|
|
Post by mustang1989 on Jan 27, 2020 15:36:58 GMT -6
Those door panels and console look great. Nicely done! Thanks Steve. Revell did a good job of putting this interior together. One of the most complete I've seen yet. |
|
|
|
Post by 41chevy on Jan 28, 2020 11:44:07 GMT -6
Looks real! I'll have to try some of the primer, I like how is lays down. Paul
|
|
|
|
Post by mustang1989 on Feb 3, 2020 9:35:51 GMT -6
Looks real! I'll have to try some of the primer, I like how is lays down. Paul Thanks Paul! Well I've officially completed the interior tub today. All that's left is installing the door lock knobs into the holes that I drilled in the top of each door which will happen after I've got everything installed neatly and securely up into the body as to avoid damage to the knobs during the interior install. Revell really did everything right on this kit. If you look up under the dash on the passengers side you'll see the HVAC case. AM items include the seat belts and buckles, PE foot pedals, PE steering wheel spokes, PE keys and key chains and of course the carpet/ flocking. All chrome was applied with a Molotow Chrome pen except for the chrome endcap on the rear of the console. I'm pretty pleased with this. 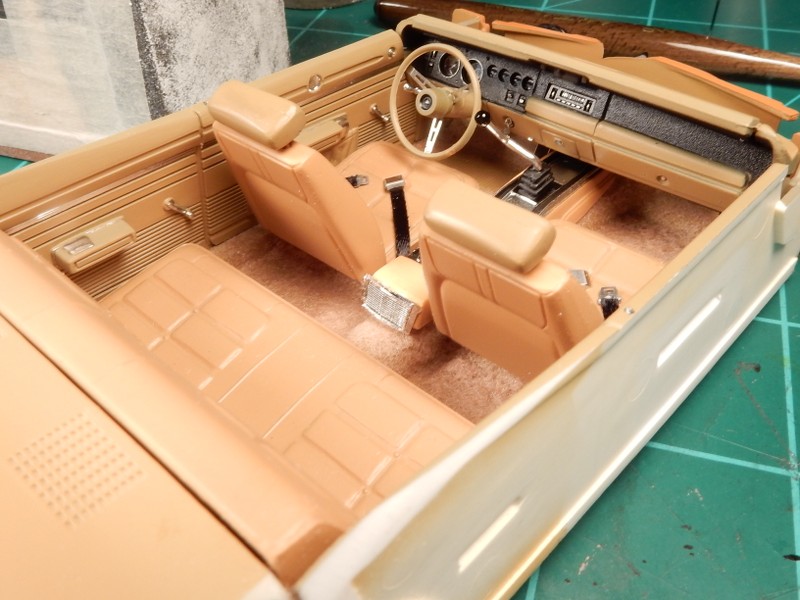 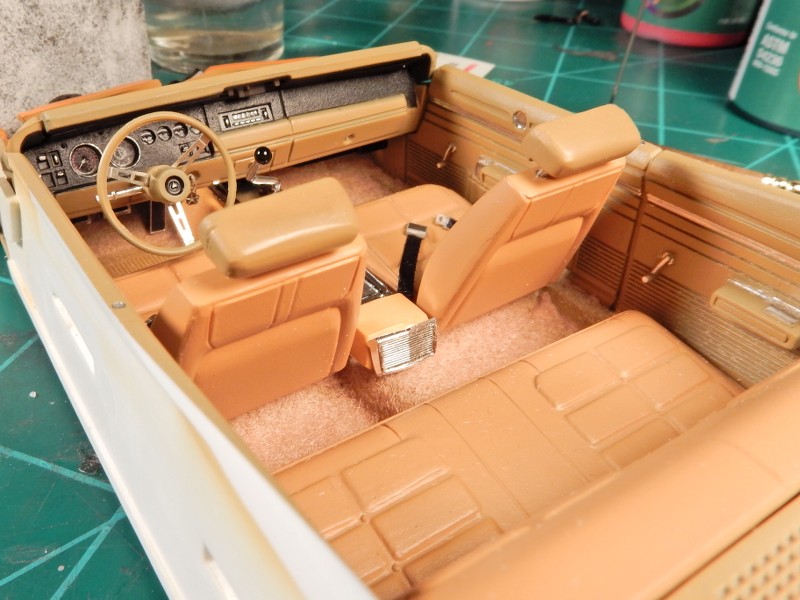 Close ups of the IP: 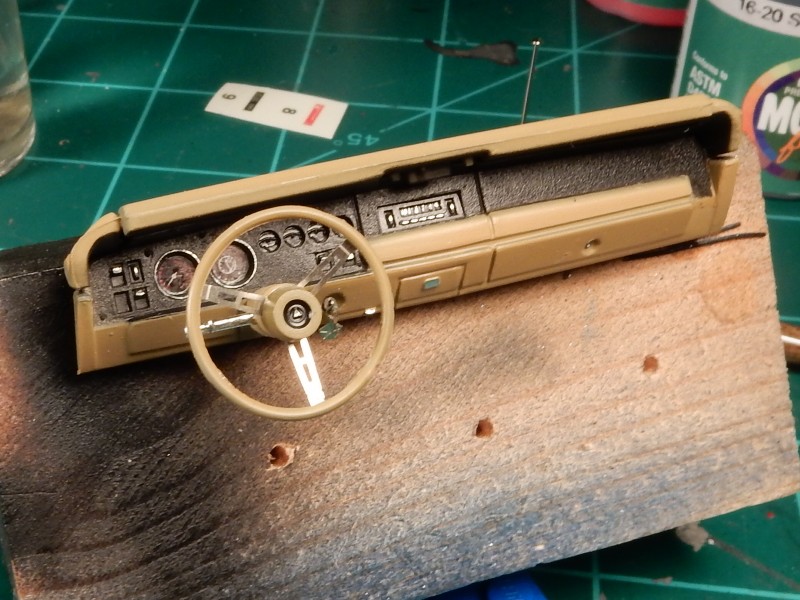  |
|