Deleted
Deleted Member
Posts: 0
|
Post by Deleted on Feb 3, 2020 14:27:17 GMT -6
Just outstanding!
|
|
stevielewis
Junior Dragster Champion
 Is that....?! What I think that is....?
Posts: 341
|
Post by stevielewis on Feb 3, 2020 15:16:57 GMT -6
That interior is flawless. Wow!
|
|
|
|
Post by mustang1989 on Feb 4, 2020 7:57:34 GMT -6
Thanks fellas! First off.....I worked on the battery a couple of days back and decided not to go with real cables for this one. Gonna concentrate most of my efforts on the brake lines coming off of the master cylinder and more so on the engine which I still haven't decided which way to go with yet.  Secondly.....If you wanna know about stress...…I can tell you about that. I have never seen an interior that fought the whole way going into a car body before. I just knew one of the windows were gonna pop out or that there was going to be an interior side panel pop out of place or something was gonna break while installing it. I can't really turn the car body upside down to do all of this either due to all the flocking going everywhere during the popping and all from fitting this interior up into the body. I had to do all of this with the body upright which made things really hard to do. But............…I got it. Thank God-I got it.  |
|
|
|
Post by 41chevy on Feb 4, 2020 8:04:02 GMT -6
Looks real! sent you a PM Paul
|
|
|
|
Post by mustang1989 on Feb 4, 2020 11:13:18 GMT -6
Looks real! sent you a PM Paul Thanks Paul! |
|
|
|
Post by mustang1989 on Feb 5, 2020 6:49:17 GMT -6
Okay......I managed to get the hair raising task of installing the wheels all done. Sounds simple but I made the wheel mounting holes on the rims an oval so I could get this one just wee tad lower. Had to get all the wheels at just the right height so I wouldn't wind up with a "3 wheeler". The stance is now locked in. I also got the back panel all painted up, detailed up, bumpered up and installed. I hit the body with a little more polish but can tell I need to do it again just to get it just right. 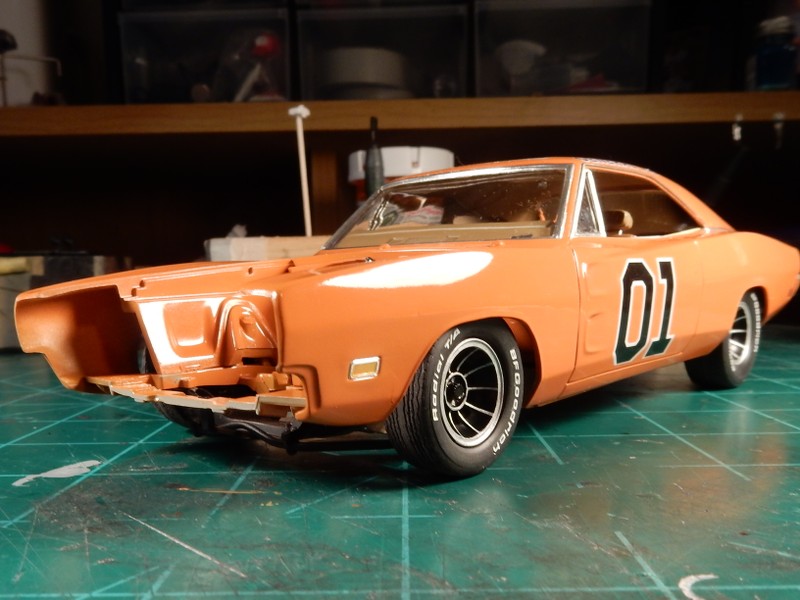 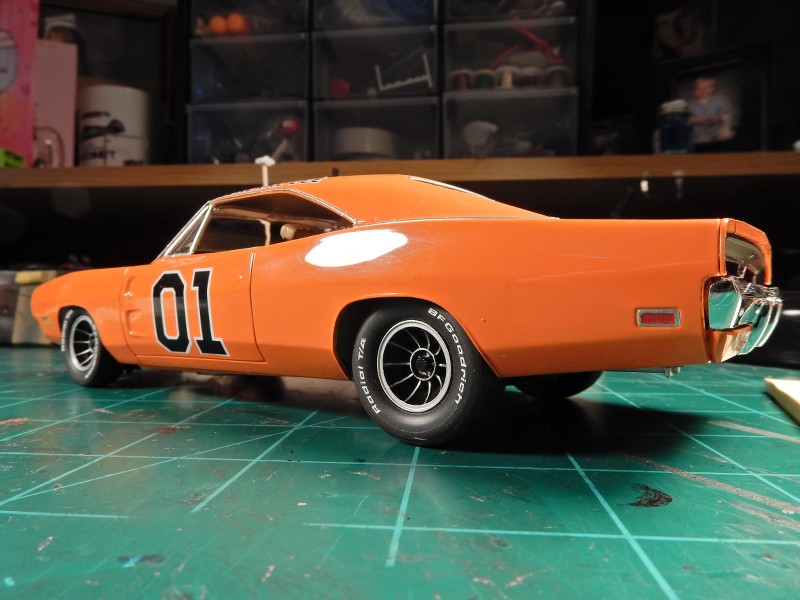 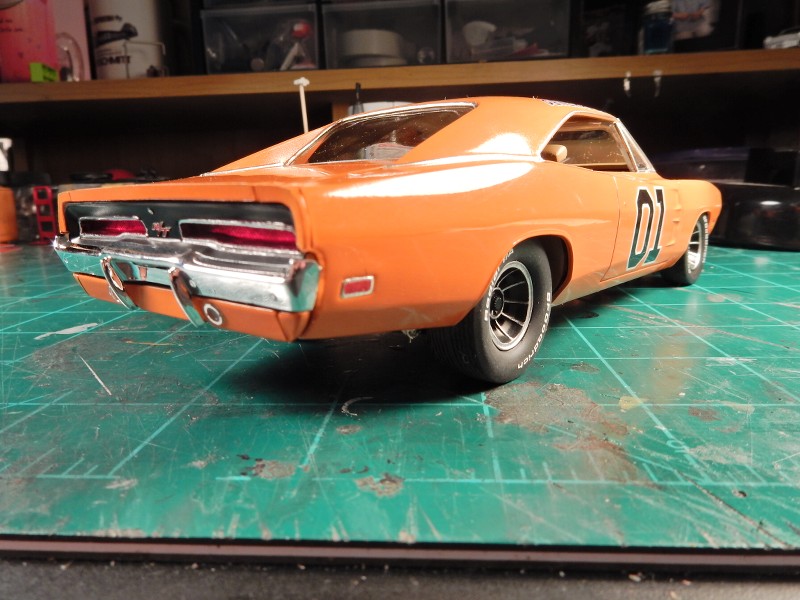 |
|
Deleted
Deleted Member
Posts: 0
|
Post by Deleted on Feb 5, 2020 14:52:15 GMT -6
Looks great!
Tell me about this "oval" thing. Remember, I'm still a newbie, especially about things like this. You made the holes "oval" to lower the stance. Do the wheels then come off easily? If the hole is oval, did you glue them in place to lock the wheels? Explain that if you would be so kind. It's something I've never heard of before.
|
|
|
|
Post by mustang1989 on Feb 5, 2020 16:01:05 GMT -6
Looks great! Tell me about this "oval" thing. Remember, I'm still a newbie, especially about things like this. You made the holes "oval" to lower the stance. Do the wheels then come off easily? If the hole is oval, did you glue them in place to lock the wheels? Explain that if you would be so kind. It's something I've never heard of before. LOL! I had to drop it another 1/8" and the holes in the wheel backings were the only option left for me. I just made 'em oval shaped so I could get a lower stance. I had already used all the tricks that I could think of to lower it without cutting and hacking the chassis to pieces. The mating surfaces from the rear axle to wheel backing covered the imperfections up and the drop was so subtle that one really has to be looking for it to tell that I did anything at all. |
|
Deleted
Deleted Member
Posts: 0
|
Post by Deleted on Feb 5, 2020 16:54:23 GMT -6
OK. You're going to have to take some photos of that process in the future. I'm just not visualizing what all you did. Yeah, yeah, yeah. I know, I'm a newbie to this stuff. I hope someday to be doing tricks like this without thinking about it.
|
|
|
|
Post by mustang1989 on Feb 5, 2020 18:54:38 GMT -6
OK. You're going to have to take some photos of that process in the future. I'm just not visualizing what all you did. Yeah, yeah, yeah. I know, I'm a newbie to this stuff. I hope someday to be doing tricks like this without thinking about it. No worries bud. I'll see if I can put something together for you Steve. |
|
|
|
Post by mustang1989 on Feb 6, 2020 6:25:12 GMT -6
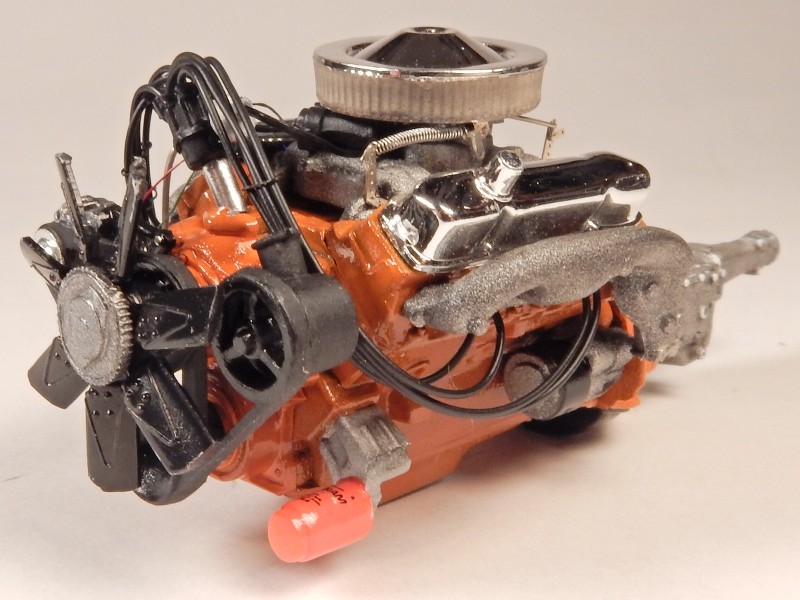
Today saw the completion of the engine bay prep. The one thing I couldn't get over was the clear windshield washer bottle out of the box.  A little weird but I guess they were trying to appeal to the youngsters in the hobby is my best guess. Who knows? 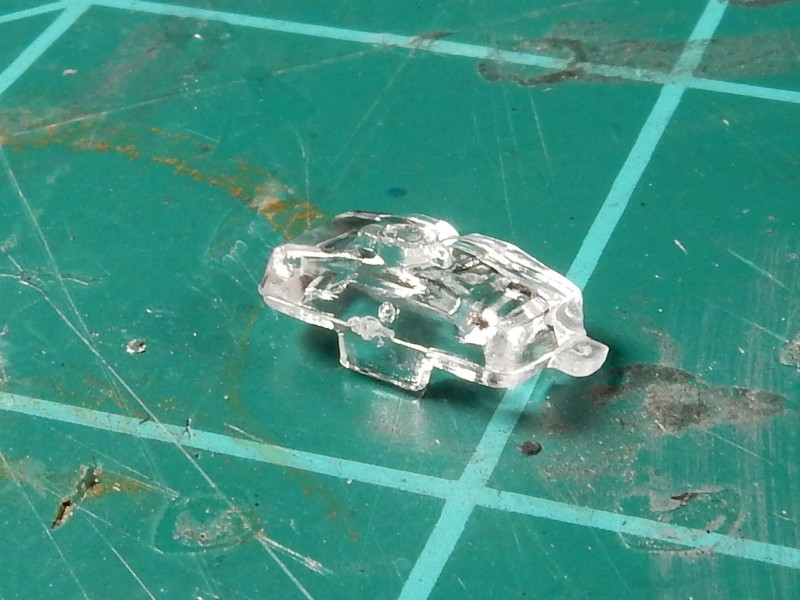 I made the necessary corrections to it and managed to finish up the engine bay today. Shock studs and retaining nuts were added to the shock towers, brake lines were fabricated and added and I brought out the highlights of the steering column with a silver lead pencil. Anyhow ....here's the engine bay all prepped for that 440 engine to be installed hopefully shortly.... 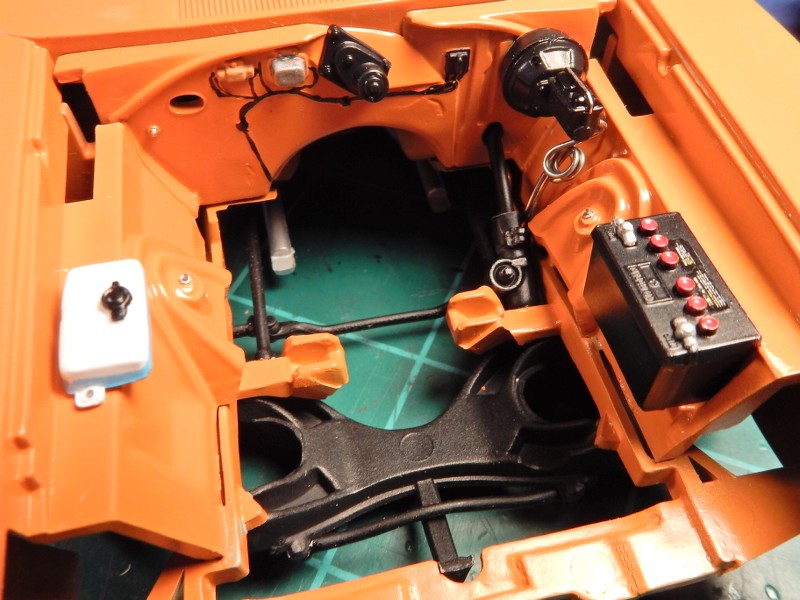 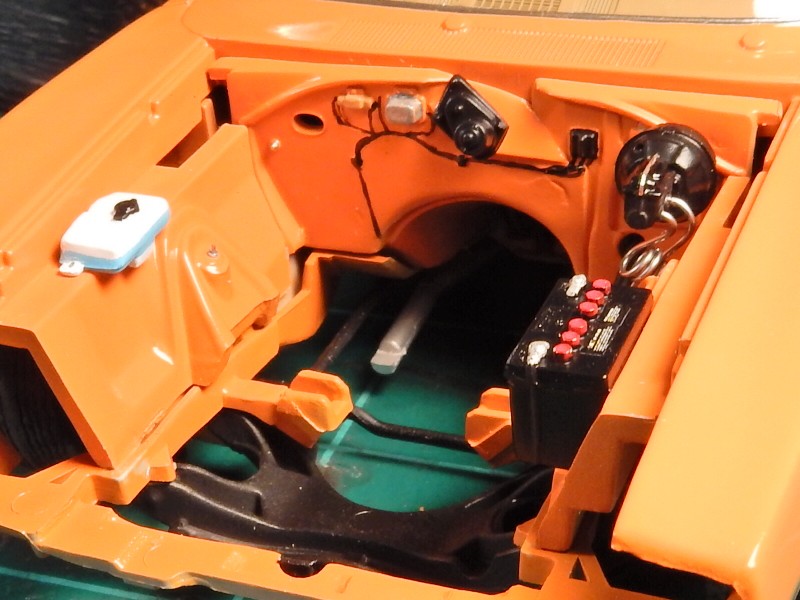 |
|
Deleted
Deleted Member
Posts: 0
|
Post by Deleted on Feb 6, 2020 14:19:55 GMT -6
Looks great! Nice touch with the studs and retaining nuts.
|
|
|
|
Post by mustang1989 on Feb 6, 2020 14:24:01 GMT -6
Looks great! Nice touch with the studs and retaining nuts. Thanks Steve. I've got three more of these to build after this one.....a 68 R/T, a 70 R/T and a Superbird and I'll be doing this small "upgrade" to all of em. I'll probably be sanding off the molded in firewall detail and running real circuits on those though. |
|
|
|
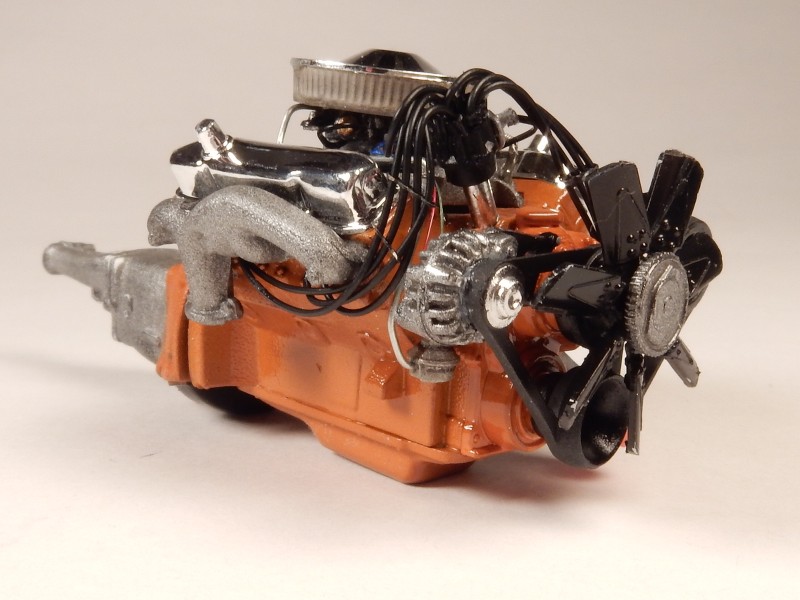
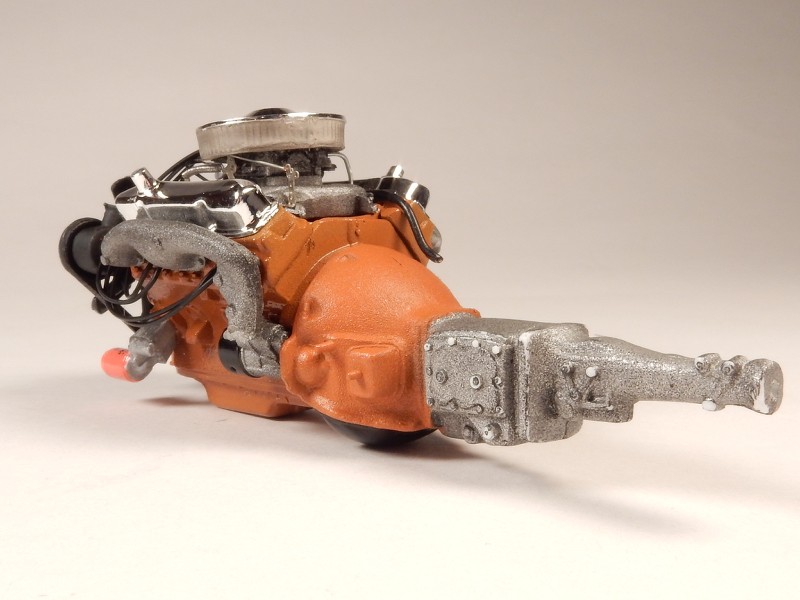
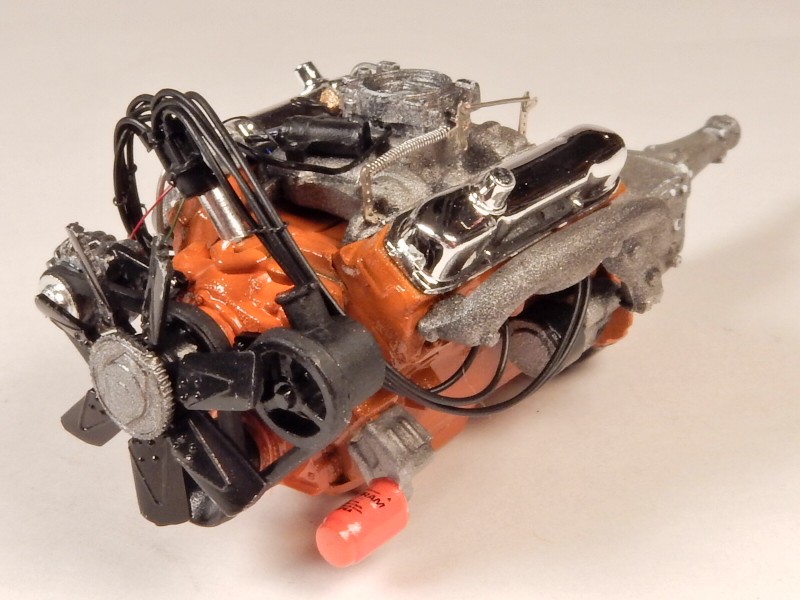
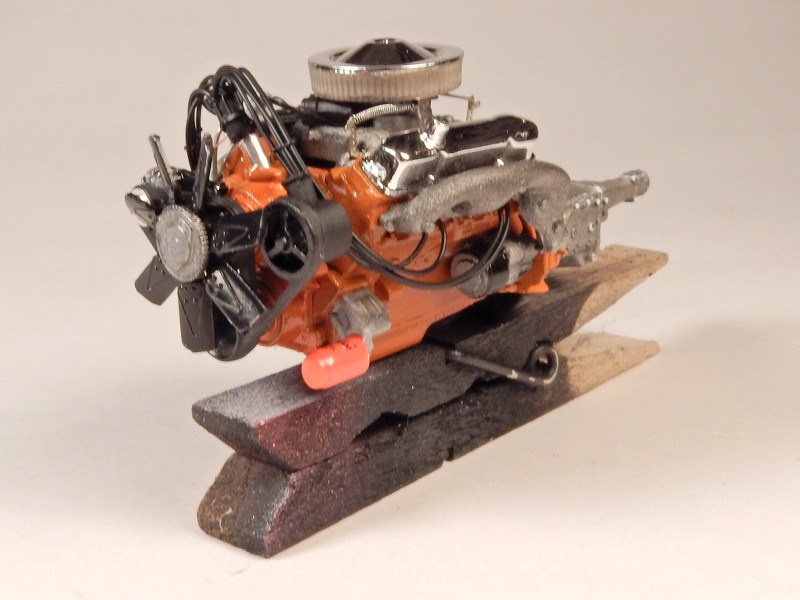
Post by mustang1989 on Feb 7, 2020 12:09:43 GMT -6
|
|
Deleted
Deleted Member
Posts: 0
|
Post by Deleted on Feb 7, 2020 14:21:56 GMT -6
Looks great! But I'll go along with you about that air cleaner. Doesn't do it for me either.
|
|