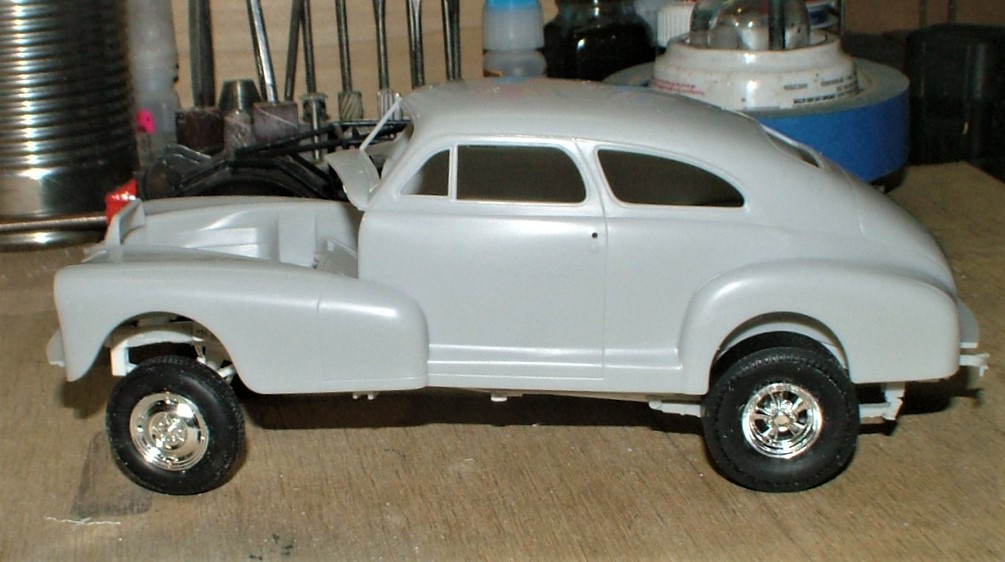
Birth of a Gasser's Suspension - Parts 1 and 2
Feb 7, 2018 22:10:34 GMT -6
70sprostockfan likes this
Post by 41chevy on Feb 7, 2018 22:10:34 GMT -6
This is a filler for the curing time of the Basic Build paint, it will also give a basic run down of making the typical straight axle that I use.
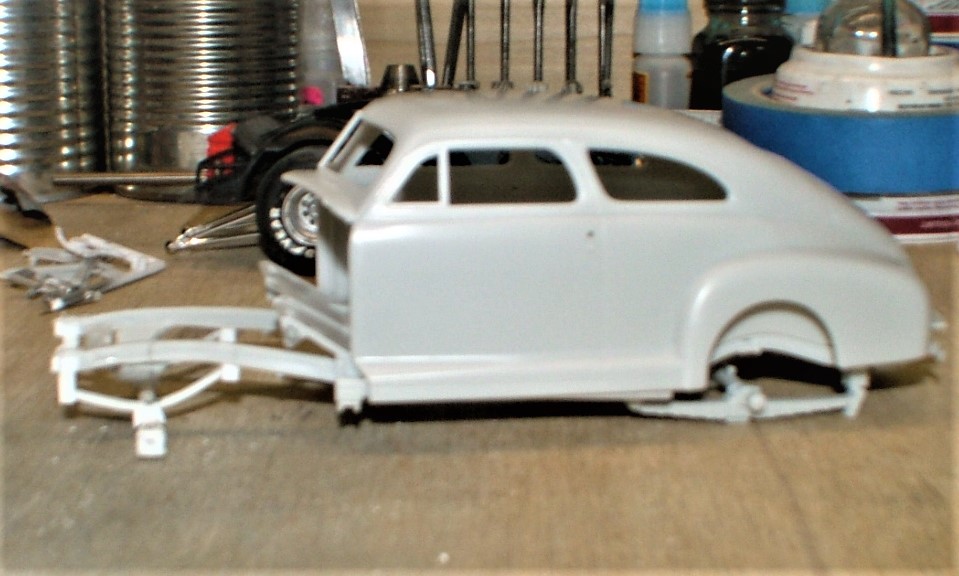
First mark the front wheel center line on the chassis so you can keep the correct wheelbase.
First I prep the chassis by getting rid of the front suspension mounts.
Stock.
 Hosted on Fotki
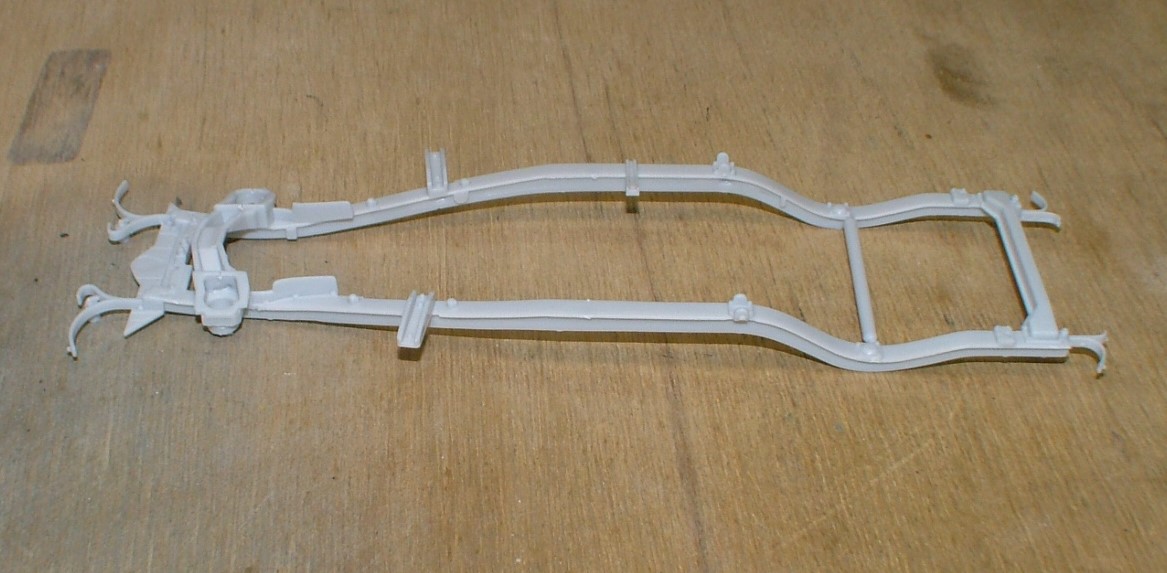 Hosted on Fotki
Cleaned up
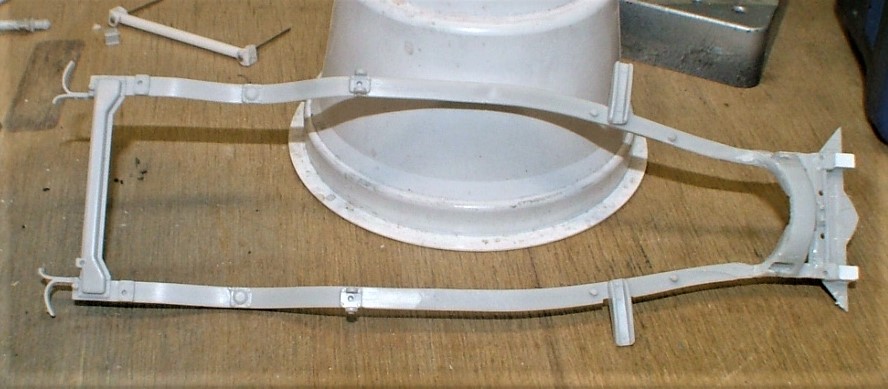 Hosted on Fotki
Now I make the straight axle Evergreen 1/8 tube, 3/16 square tube and straight pins if you want some steering.IF you don't want steering, you can just use the tube axle with the AMT style wheels with the metal axle and skip down to the Springs.
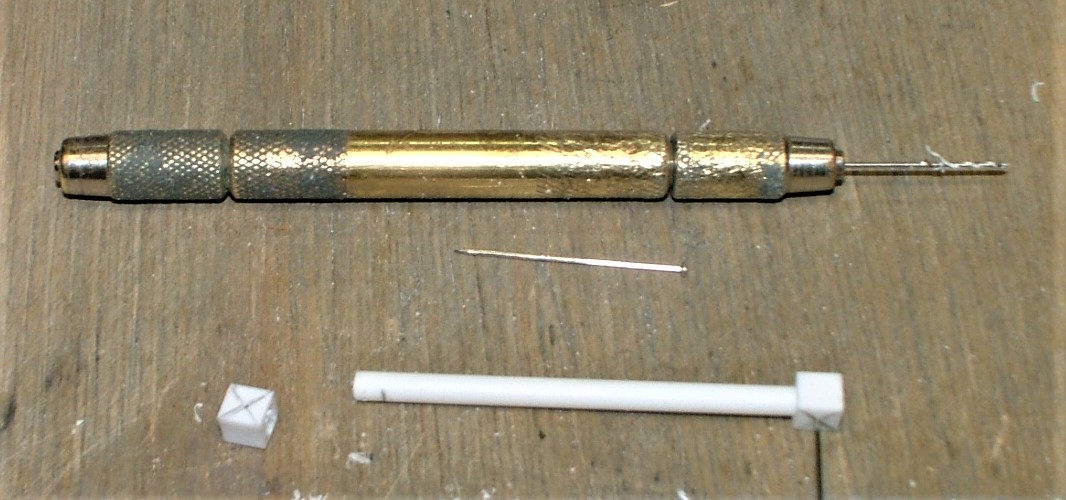
I cut the tube 3/16 narrower than the than the rear end. Cut the square tube to 4mm. Make an "X" corner to corner on three sides. I use a drill that it the same diameter as the straight pins an drill in the center of all three "X"s.
Mark the tube 3mm in on both ends, slide the square tube you drilled up to the line and use the hole as a guide to drill the tube. leave the first square on and pin it.that keeps the other sides hole in line with no "twist". Do the same and drill side two.
Remove the side of the square tube you did not drill and if you want round the edges for looks. Pin the ends to the axle and add a drop of CA glue under the pin head to hold it all together. They should turn when it all dries. Now nip off the end of the pin leaving about 1/16 inch. I'll show you in the next post how to make the steering arms and tie rod up and mount them to the piece of pin you left long.
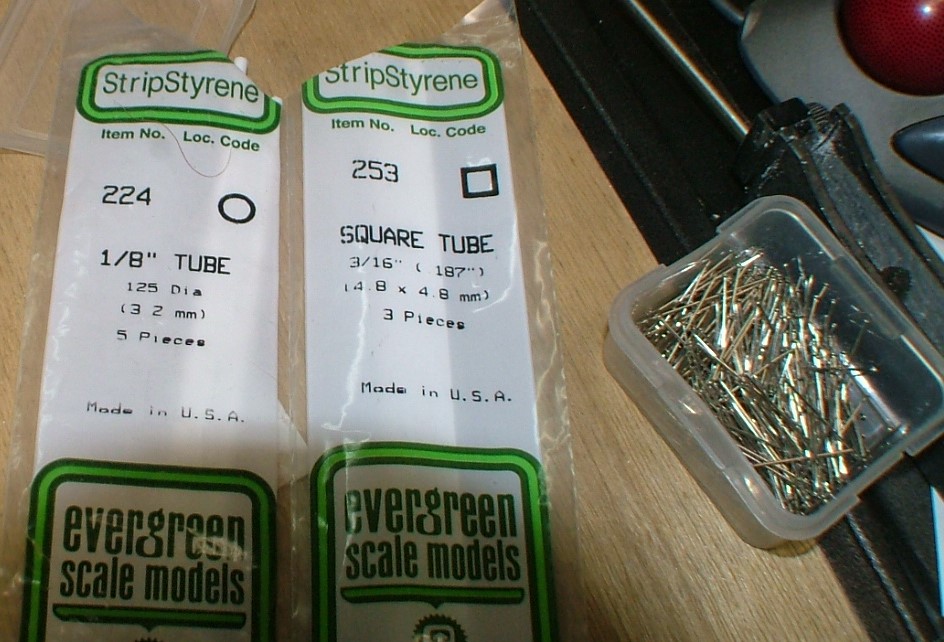 Hosted on Fotki
 Hosted on Fotki
 Hosted on Fotki
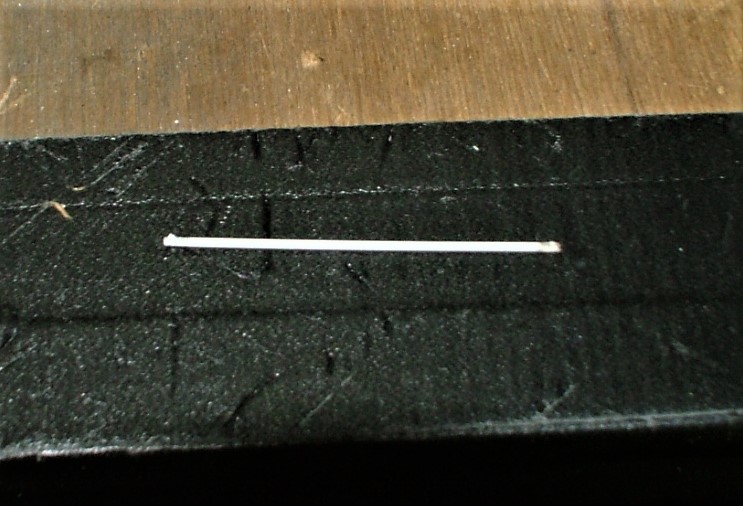
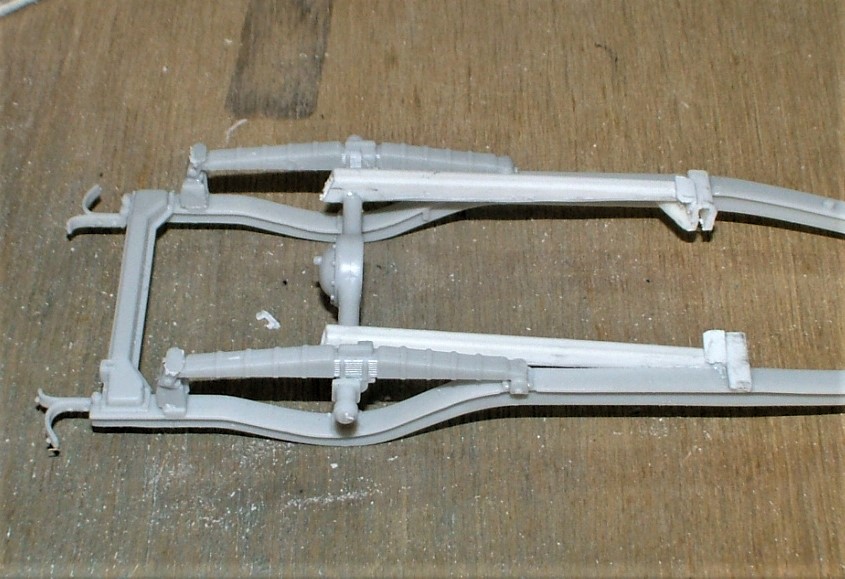
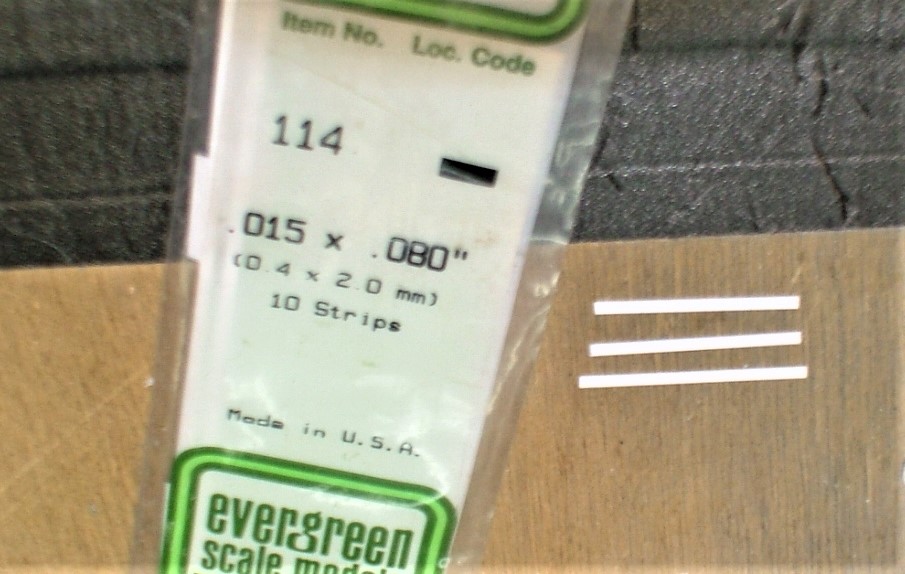
Now on to the Spring assemblies. I use Evergreen .015 x .080 strip for the leaves. Generally 3 leaves work fine. My usual lengths are 35mm, 31mm and 28mm. Cut a set for each side. For the Spring jig I use a tool bit holder with 1/8 inch diameter holds that I got in Home Depot. Pick three holes in a row and what I use is Bamboo sticks from the supermarket. The photo shows the lay out. Put the three leaves together and place against the two outer sticks, put the center stick in to give it the arc. Be sure to have the longest spring on the inside of the arc. Use your liquid cement to glue the leaves together. after they dry turn the springs over and glue the other side.
 Hosted on Fotki
 Hosted on Fotki
Spring shackle mounts I use 1/8 x 5/16 Evergreen rectangular tube made into a "U", but any mount you think of can work.
I take Evergreen .125 x .080 square rod and use a 1/8 Chain saw file to make spring mounts for the axle to sit in. The entire set up takes less than 45 minutes and the supplies are enough to do 75 or more straight axles assemblies.
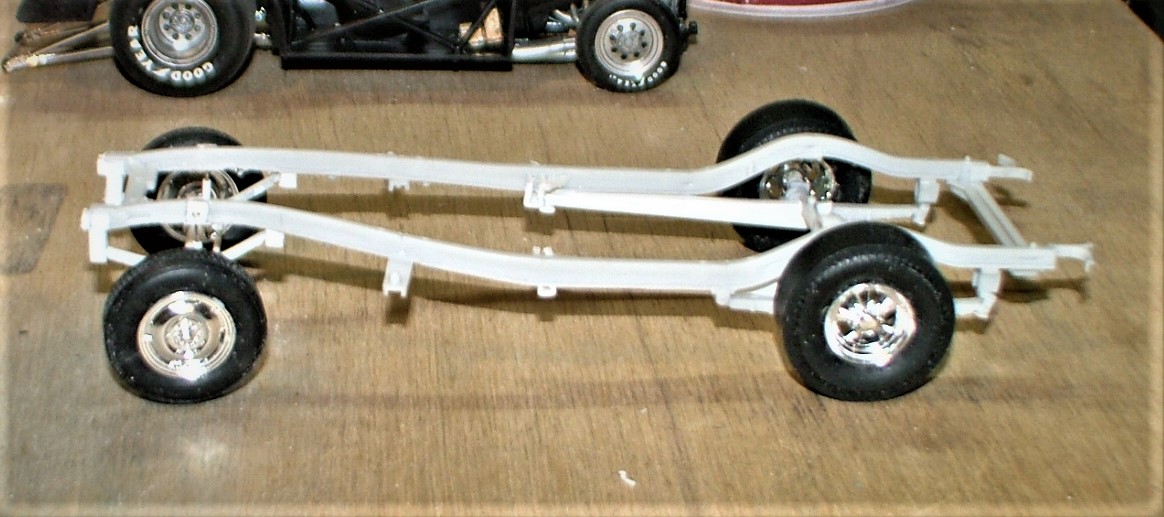
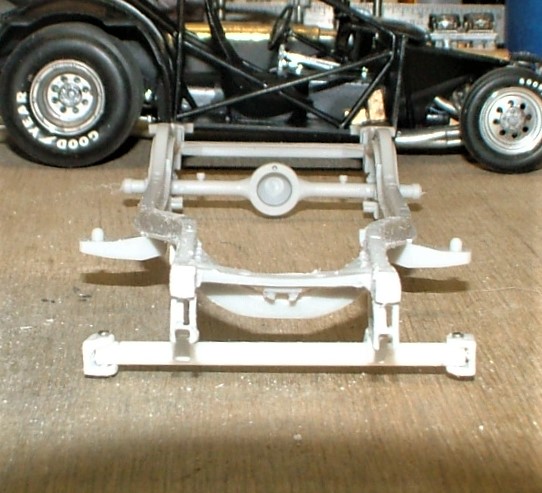
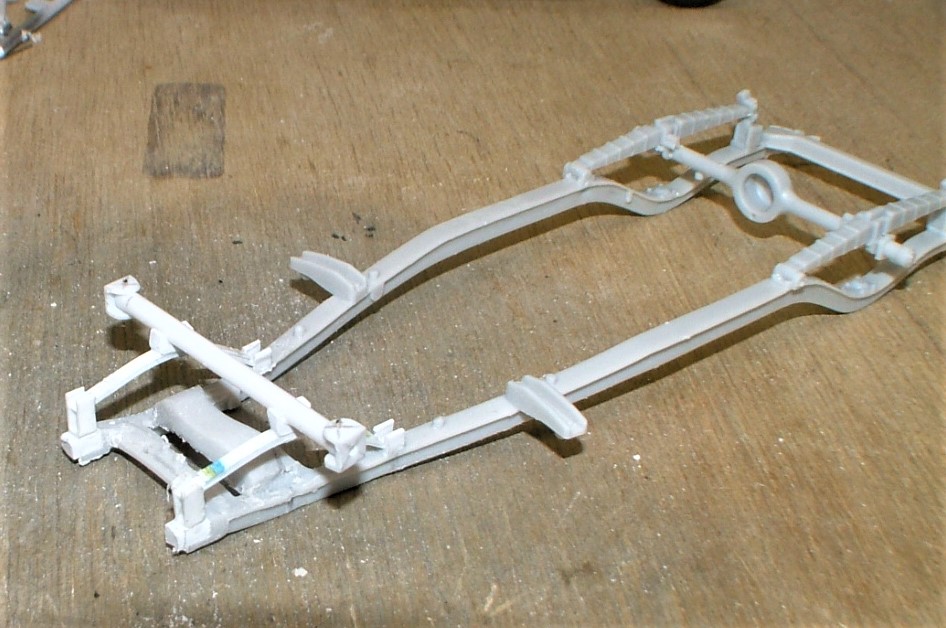
Here is photos of the axle assembly mounted on the chassis. Steering and shocks come in the next post. Paul
 Hosted on Fotki
 Hosted on Fotki
 Hosted on Fotki
 Hosted on Fotki
 Hosted on Fotki
First mark the front wheel center line on the chassis so you can keep the correct wheelbase.
First I prep the chassis by getting rid of the front suspension mounts.
Stock.
 Hosted on Fotki
 Hosted on Fotki
Cleaned up
 Hosted on Fotki
Now I make the straight axle Evergreen 1/8 tube, 3/16 square tube and straight pins if you want some steering.IF you don't want steering, you can just use the tube axle with the AMT style wheels with the metal axle and skip down to the Springs.
I cut the tube 3/16 narrower than the than the rear end. Cut the square tube to 4mm. Make an "X" corner to corner on three sides. I use a drill that it the same diameter as the straight pins an drill in the center of all three "X"s.
Mark the tube 3mm in on both ends, slide the square tube you drilled up to the line and use the hole as a guide to drill the tube. leave the first square on and pin it.that keeps the other sides hole in line with no "twist". Do the same and drill side two.
Remove the side of the square tube you did not drill and if you want round the edges for looks. Pin the ends to the axle and add a drop of CA glue under the pin head to hold it all together. They should turn when it all dries. Now nip off the end of the pin leaving about 1/16 inch. I'll show you in the next post how to make the steering arms and tie rod up and mount them to the piece of pin you left long.
 Hosted on Fotki
 Hosted on Fotki
 Hosted on Fotki
Now on to the Spring assemblies. I use Evergreen .015 x .080 strip for the leaves. Generally 3 leaves work fine. My usual lengths are 35mm, 31mm and 28mm. Cut a set for each side. For the Spring jig I use a tool bit holder with 1/8 inch diameter holds that I got in Home Depot. Pick three holes in a row and what I use is Bamboo sticks from the supermarket. The photo shows the lay out. Put the three leaves together and place against the two outer sticks, put the center stick in to give it the arc. Be sure to have the longest spring on the inside of the arc. Use your liquid cement to glue the leaves together. after they dry turn the springs over and glue the other side.
 Hosted on Fotki
 Hosted on Fotki
Spring shackle mounts I use 1/8 x 5/16 Evergreen rectangular tube made into a "U", but any mount you think of can work.
I take Evergreen .125 x .080 square rod and use a 1/8 Chain saw file to make spring mounts for the axle to sit in. The entire set up takes less than 45 minutes and the supplies are enough to do 75 or more straight axles assemblies.
Here is photos of the axle assembly mounted on the chassis. Steering and shocks come in the next post. Paul
 Hosted on Fotki
 Hosted on Fotki
 Hosted on Fotki
 Hosted on Fotki
 Hosted on Fotki


