


Post by 1320wayne on Feb 11, 2018 20:38:54 GMT -6
Some questions were asked about how I create some home grown decals for some of my builds. The first thing that I can say is that what I do is in no way a good comparison to much higher quality decals but in the case of wanting something that doesn't exist the overall quality is good enough for my satisfaction.
I do not have any expensive graphics program or fancy printer. No Alps or laser jet. I create decal images on my pc with an inexpensive inkjet printer.
You start by finding images online that are suitable for what you are trying to create. Whether they are as simple as a company/sponsor name or some form of graphics such as flames or skulls or whatever suits your needs. I have spent the better part of 7 or 8 years constantly searching the web for any useable image that would fit my needs.
As you start finding and saving images stockpile them into folders. The program that I use for laying out a decal is a basic Word Document program. Open a clean document, set your margins to what you like and by using the insert icon in your tools bar at the top of the screen you can access each image and export the image into the document. Once the image has been exported simply click on the image which will then highlight the image with a display box. Left click on any of the corner points or side points of the box which will then allow you to edit the image by resizing it, making it shorter or taller or stretching it.
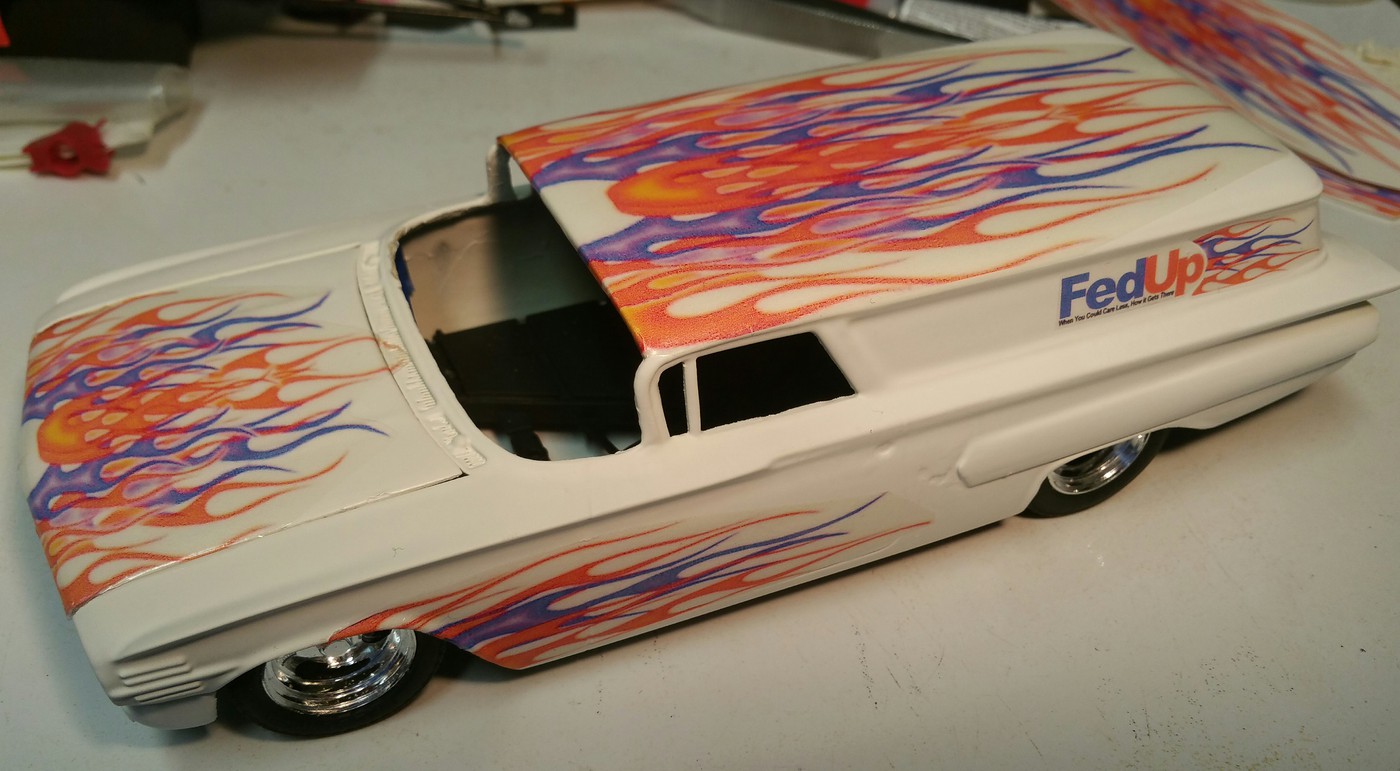
For example, the image below is a decal that I created for a custom 60 Chevy sedan delivery. The decal on the hood and the decal on the roof are the same decal. I simply stretched the roof decal to give it a different look and to make it fit the roof.
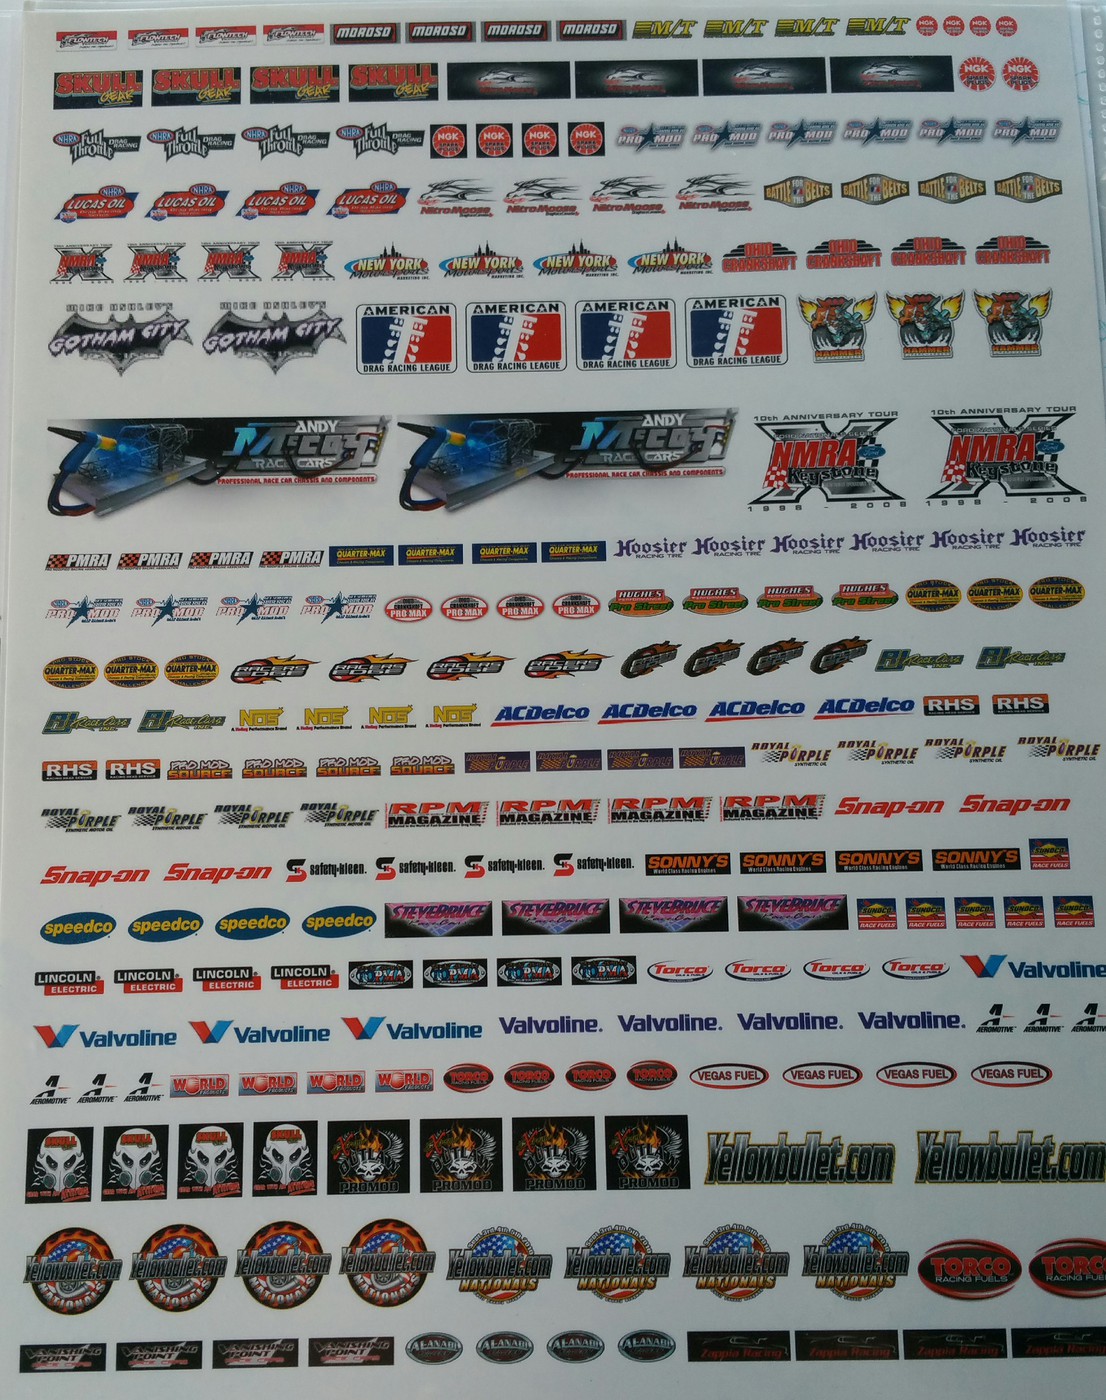
I have created contingency decals by exporting multiple sponsor images until the page is full. It's as easy as exporting one image and if you want more than one of the same you can copy and paste the image to create rows.
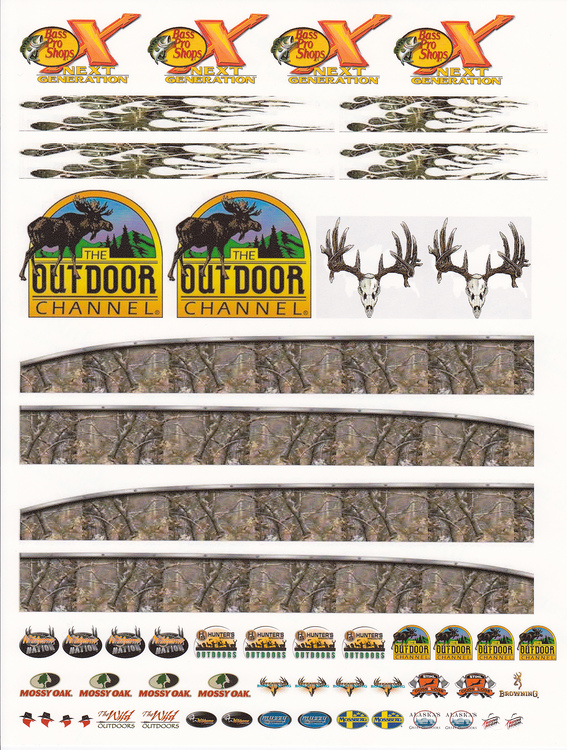
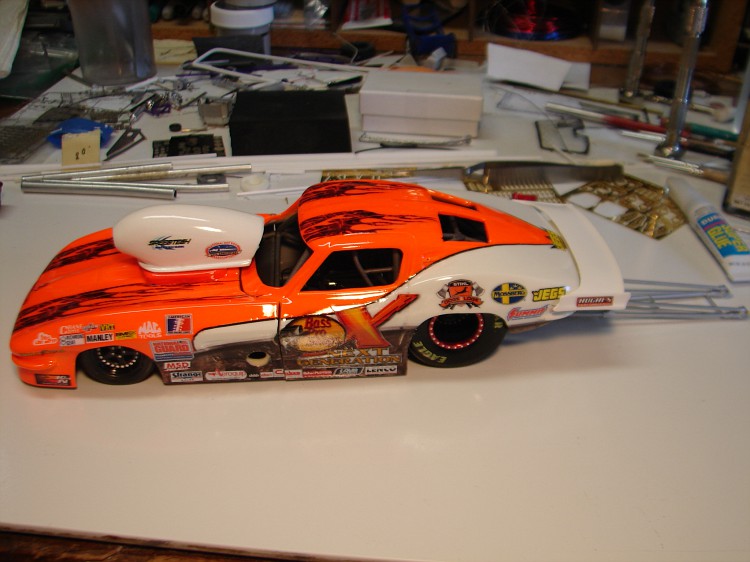
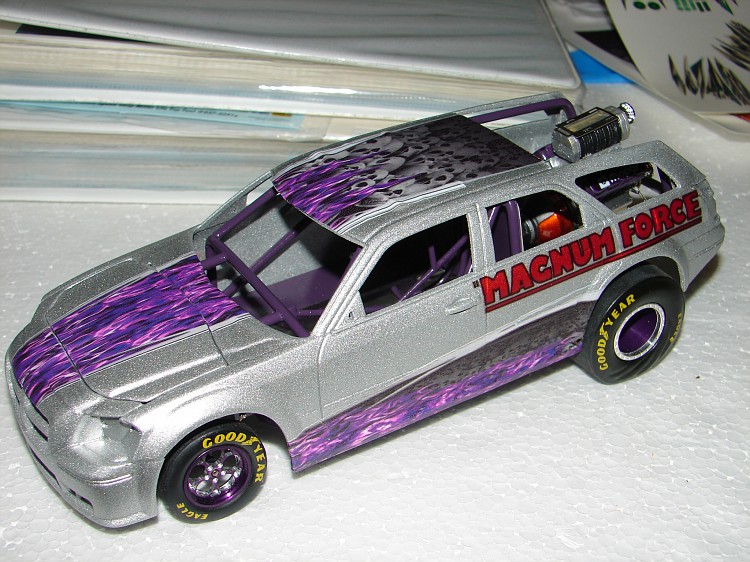
And then there is the process of creating an entire decal for a specific project. Export your images, size them accordingly and when your sheet is ready simply print it onto adequate decal film. Once printed set the decal aside to try and when it's ready add whatever clear coat you prefer to seal the images. This next decal is one that I created for a pro mod project that is still in the works. It's a total phantom scheme but that's part of the fun of doing these for yourself. You can create whatever your imagination can create.
The possibilities can be almost endless.
Again, these are very simple processes and there are a few limitations. Such as, using an inkjet printer will not allow you to print white. So, if your image has any white in it you will have to print it onto white decal film. so, you will want to select only images that you can trim right up to the edge of the image. If your images can printed onto clear decal film then you will have to use them on a lighter colored project or else you will lose some of the image. That's my process. It's not complex but it did take me a few years of trying different techniques to turn out useable decals.
I do not have any expensive graphics program or fancy printer. No Alps or laser jet. I create decal images on my pc with an inexpensive inkjet printer.
You start by finding images online that are suitable for what you are trying to create. Whether they are as simple as a company/sponsor name or some form of graphics such as flames or skulls or whatever suits your needs. I have spent the better part of 7 or 8 years constantly searching the web for any useable image that would fit my needs.
As you start finding and saving images stockpile them into folders. The program that I use for laying out a decal is a basic Word Document program. Open a clean document, set your margins to what you like and by using the insert icon in your tools bar at the top of the screen you can access each image and export the image into the document. Once the image has been exported simply click on the image which will then highlight the image with a display box. Left click on any of the corner points or side points of the box which will then allow you to edit the image by resizing it, making it shorter or taller or stretching it.
For example, the image below is a decal that I created for a custom 60 Chevy sedan delivery. The decal on the hood and the decal on the roof are the same decal. I simply stretched the roof decal to give it a different look and to make it fit the roof.
I have created contingency decals by exporting multiple sponsor images until the page is full. It's as easy as exporting one image and if you want more than one of the same you can copy and paste the image to create rows.
And then there is the process of creating an entire decal for a specific project. Export your images, size them accordingly and when your sheet is ready simply print it onto adequate decal film. Once printed set the decal aside to try and when it's ready add whatever clear coat you prefer to seal the images. This next decal is one that I created for a pro mod project that is still in the works. It's a total phantom scheme but that's part of the fun of doing these for yourself. You can create whatever your imagination can create.
The possibilities can be almost endless.
Again, these are very simple processes and there are a few limitations. Such as, using an inkjet printer will not allow you to print white. So, if your image has any white in it you will have to print it onto white decal film. so, you will want to select only images that you can trim right up to the edge of the image. If your images can printed onto clear decal film then you will have to use them on a lighter colored project or else you will lose some of the image. That's my process. It's not complex but it did take me a few years of trying different techniques to turn out useable decals.


