


Post by david on Mar 2, 2018 0:37:59 GMT -6
I usually make my seatbelts and although they are not nearly as nice as all of the after market stuff out there, they are inexpensive and fun to make.
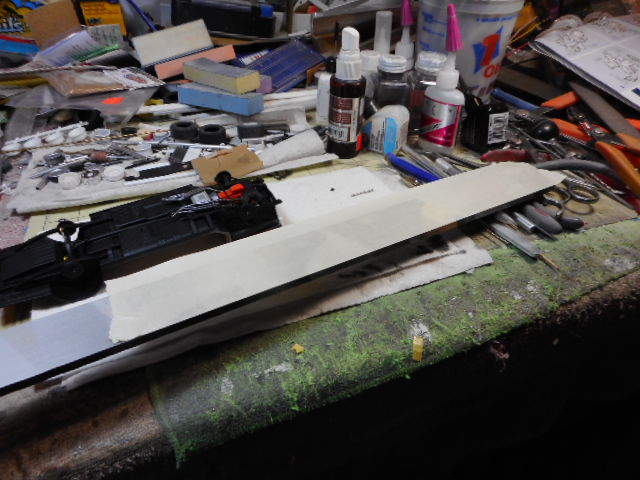
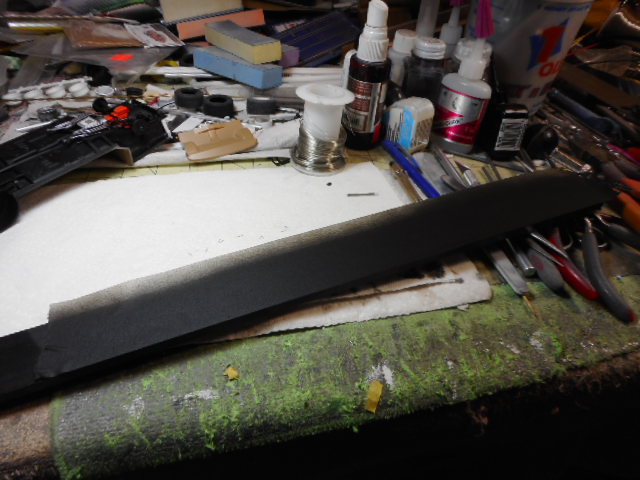
First I take a piece of masking tape and stick it lightly to one of my paint sticks. You can paint this any color you need but for the build I am currently working on I needed black belts so flat black lacquer it was. After it dried, I used my long straightedge and Exacto knife and cut a couple of strips about the width I wanted. Leave them on the stick, just make the cuts.
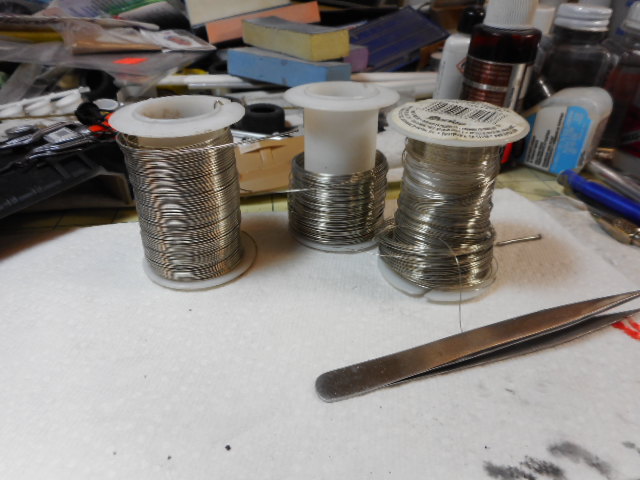
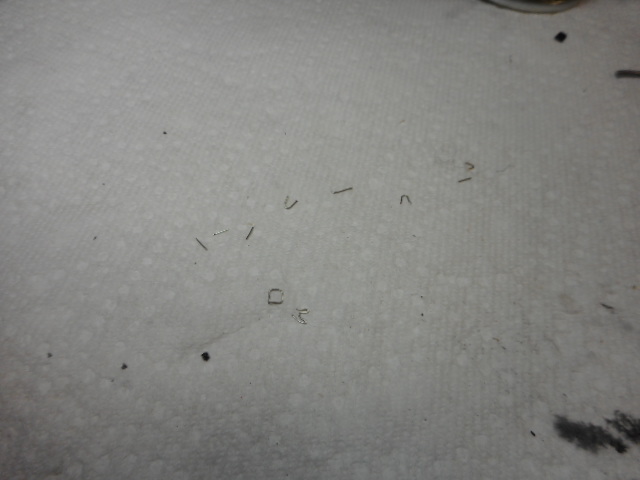
I have several rolls of different sized wire that I got at Joann's Fabrics (maybe Michael's) and I use it for all types of things. For the belts I use the thin wire and make some bends in it and cut the pieces out. No big plan here, I just make a few things that look kind of "seat-belty" and let it go at that.
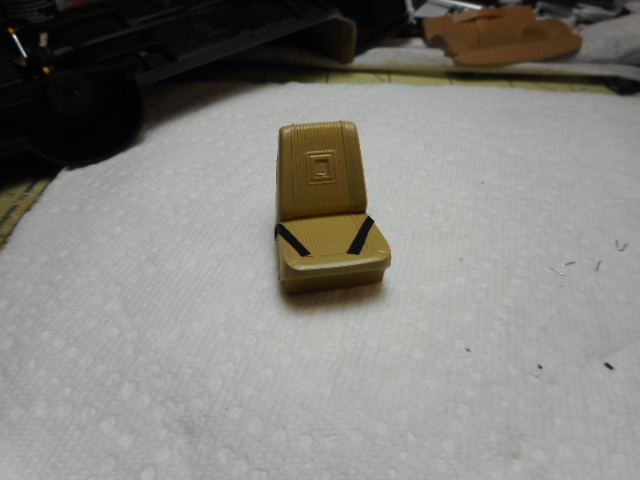
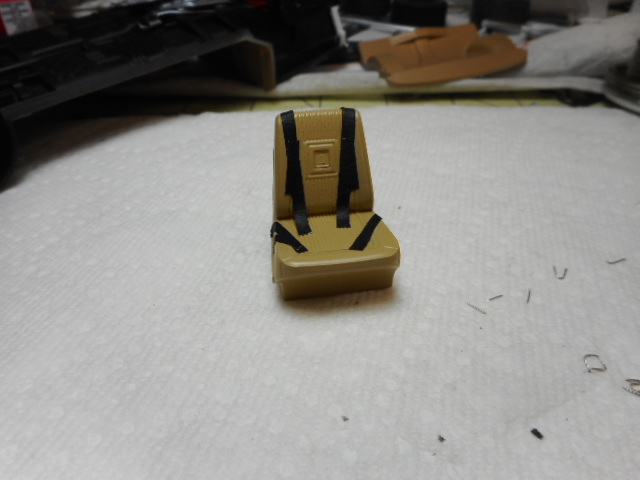
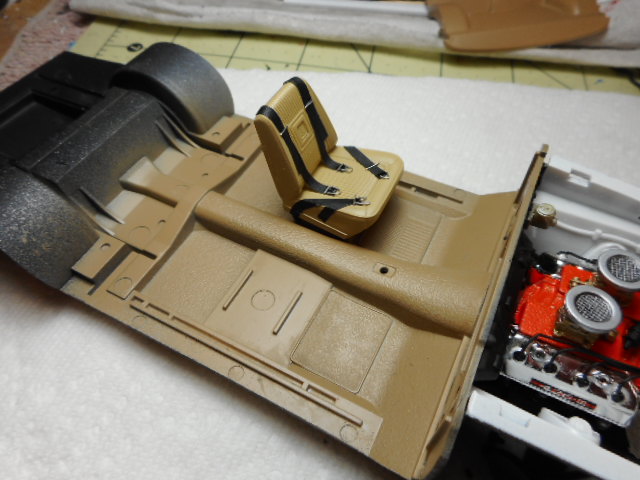
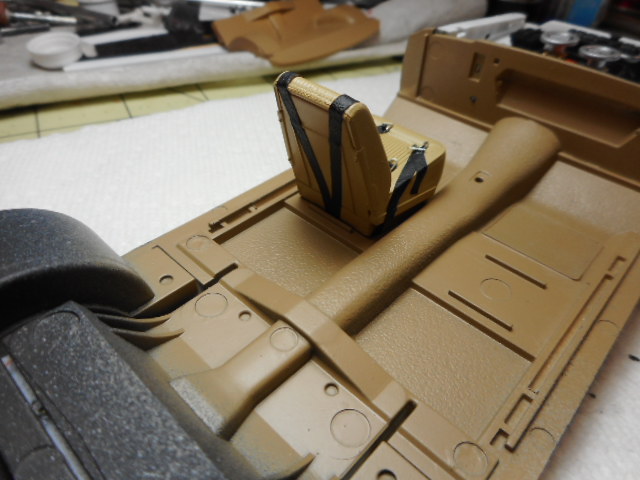
Next I cut off a piece of my painted tape and start laying the belts down. No need for perfection and frankly I don't think I've ever done them the same way twice. Just throw them in there with your tweezers and then use your knife to trim them because that gives them a more natural look. Press them down where they are in good contact with the seat and the tape will hold it there nicely. Other areas (like where the back and seat connect) look best just draped over it; make it look natural. Again, the masking tape will hold itself on the good flat surfaces.
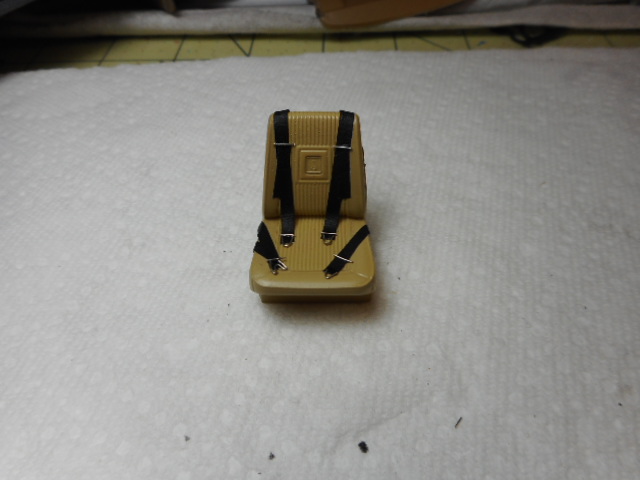
Lastly, I use a toothpick and super glue and just put some of the little metal wire pieces where I want them. Again, not exactly the most "accurate" thing but in scale and inside the car they look fine.
Hopefully this tip will help someone make some fun seat belts for their builds or maybe it will spark an idea that someone will have that is a much better way of doing it. Thanks and model on!
First I take a piece of masking tape and stick it lightly to one of my paint sticks. You can paint this any color you need but for the build I am currently working on I needed black belts so flat black lacquer it was. After it dried, I used my long straightedge and Exacto knife and cut a couple of strips about the width I wanted. Leave them on the stick, just make the cuts.
I have several rolls of different sized wire that I got at Joann's Fabrics (maybe Michael's) and I use it for all types of things. For the belts I use the thin wire and make some bends in it and cut the pieces out. No big plan here, I just make a few things that look kind of "seat-belty" and let it go at that.
Next I cut off a piece of my painted tape and start laying the belts down. No need for perfection and frankly I don't think I've ever done them the same way twice. Just throw them in there with your tweezers and then use your knife to trim them because that gives them a more natural look. Press them down where they are in good contact with the seat and the tape will hold it there nicely. Other areas (like where the back and seat connect) look best just draped over it; make it look natural. Again, the masking tape will hold itself on the good flat surfaces.
Lastly, I use a toothpick and super glue and just put some of the little metal wire pieces where I want them. Again, not exactly the most "accurate" thing but in scale and inside the car they look fine.
Hopefully this tip will help someone make some fun seat belts for their builds or maybe it will spark an idea that someone will have that is a much better way of doing it. Thanks and model on!


 I build for fun and relaxation and it's easy to get carried away. With the rising prices of kits, then some special decals, then photo-etch, then trick parts A and trick parts B. . . you can very quickly have three digits in your model car and I just can't go that route. I will try to post some other things I do as time permits like solder headers and scratch built straight axles and things like that. Again, not because they're the best, only because they get me by and they are inexpensive and fun to build. Thanks again!

