|
|
Post by mustang1989 on Jul 20, 2020 12:04:36 GMT -6
This week has been slow and it usually seems to be that way towards the end of alot of my builds. All the planning that I've been doing for the last 4 months all comes together at the last part it seems. Sometimes I'm hesitant to move too fast as a screw up at this point would mean alot of re-work. I've been working on the firewall area, removing the already installed transmission mount and moving it to the rear a little more so that the engine and transmission will set into place properly. That meant popping the mount loose, sanding and repainting the chassis (which I had to separate the front subframe from the main part of the chassis to gain access to the areas for sanding and the repaint) and reassembly of the whole chassis again. I also worked on the rear part of the chassis so that I could get the proper rear tire alignment with the body (in other words...suck those big fat rear tires inwards a little bit towards the center of the car to keep 'em from sticking out too far from the wheel openings). I received my tachometer from Ted's Modeling Marketplace and while it is the perfect size and diameter, the tachometer decals that came with it were NOT. Really frustrating why a manufacturer (Detail Master) would put a smaller tach in a package and then throw decals for a MUCH larger tach in the same bag. Really PO'd about that I found a decal that works. Most of the efforts moving forward will center around the engine bay and all the parts fit as well as the engine detailing. I was really surprised when I actually thought about it that I'm around 80% complete with this bad boy. I've been on it since late December/ January so it's been a long road but I'm well pleased with how it's turning out so far. Here's the shot of it so far with a decal from the Revell Pro Stock Thunderbird decal sheet that actually fits the tach face. Tach is mounted up in the correct placed to boot. 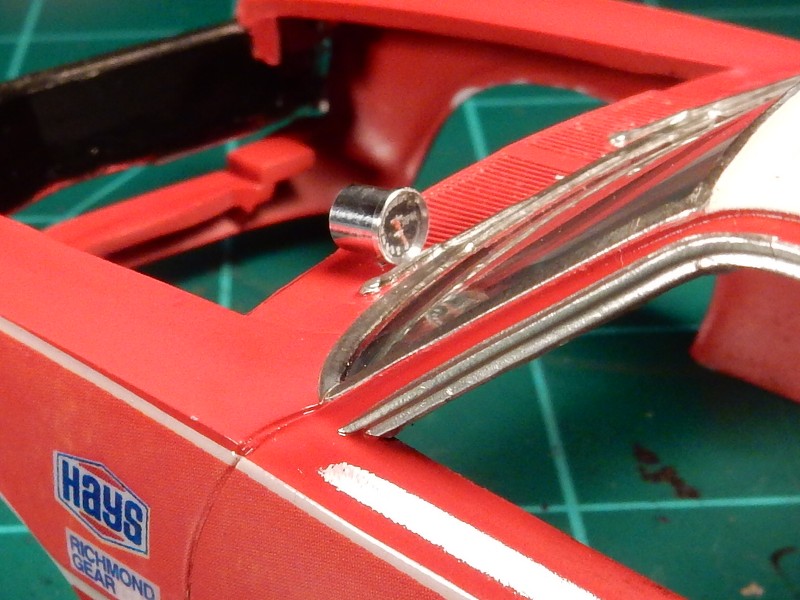 |
|
|
|
Post by mustang1989 on Aug 8, 2020 6:52:33 GMT -6
Sorry I've been away for the last couple of weeks guys. Been really busy at work to the point of when I come home it's eat, shower and bed. Will be back on this one shortly......
|
|
|
|
Post by mustang1989 on Sept 30, 2020 14:06:53 GMT -6
Okeedokeee folks. I am FINALLY back on this one. After months and months of thought and fizzled out ideas I've finally got it. First off...THANK YOU FERMIS for the idea on the soda (or in your case the almighty Arizona Tea can) can idea. I have to move the shock tower just a shade to the rear of the engine bay to make this work so here's the plan moving forward. First off, I didn't have a Diet Coke can but I did have a Sprite offering.   aaaaaaaaaaaaaaaaaand Presto!!! I've still gotta play around with cutting and trimming here and there to get it all to fit just right but you get the idea. Now I can cut the shock tower from the plastic piece and adhere it to the aluminum part in the correct place and I also get rid of that windshield washer bag that shouldn't be there. BONUS!!! 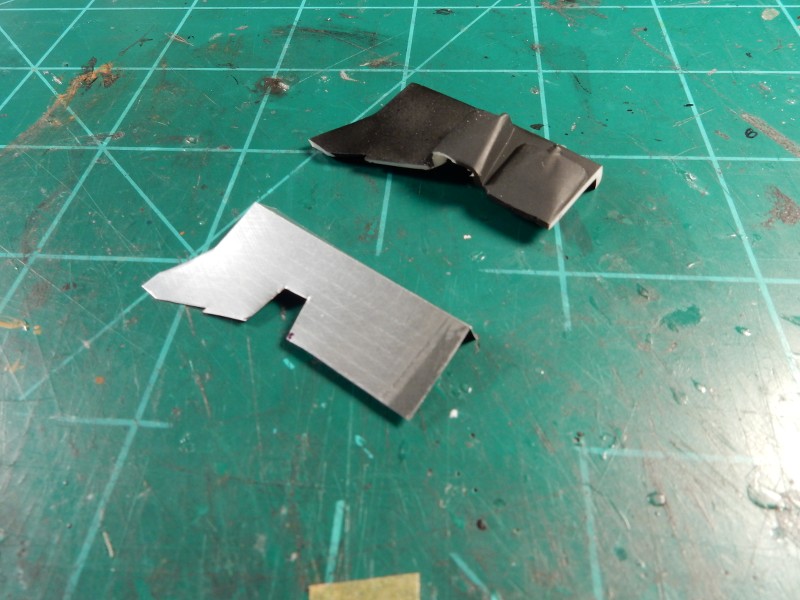 |
|
|
|
Post by mustang1989 on Oct 1, 2020 8:50:18 GMT -6
This is after one weeks worth of fitting and scrapping 3....or is it 4?? fabricated inner fenderwells now and I've finally got it. I got the idea to put the base engine in the bay and it changed the whole complexion of things......ALOT. With the engine in place I get to see what's gonna work....and what aint. So with all that stuff being said I had to approach this with a whole new mindset and put an inner fender well in place with no V cut outs for the shock tower for added rigidity once fitted into place. Then I cut the shock tower from the original inner fenderwell and thinned it down enough to clear the rocker covers. This....is gonna work. After more than 6 hours at the bench enduring trial and error...I think I've got it.... Modified shock tower just in front of the radiator core support area. 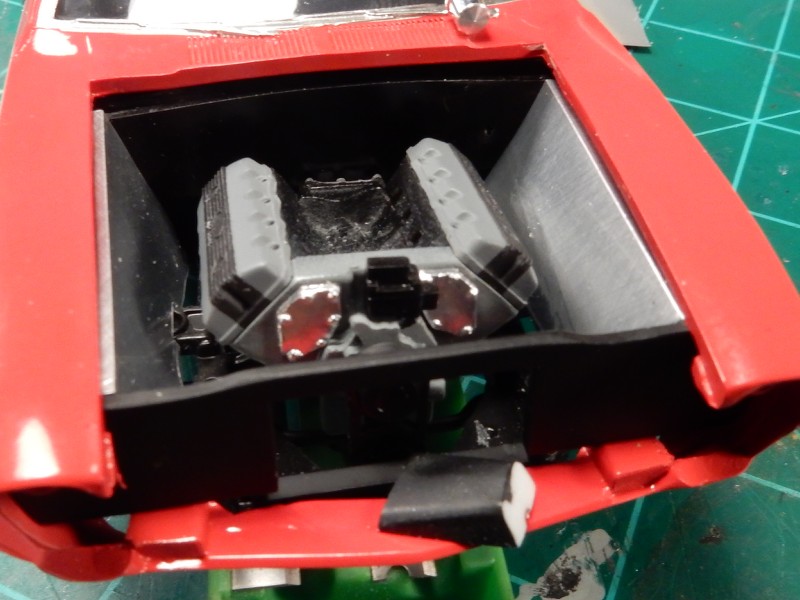 |
|
|
|
Post by 41chevy on Oct 5, 2020 10:24:14 GMT -6
The aluminum work looks very good. I never thought of using aluminum cans! I bought a big roll of .09 thousand Aluminum flashing at Lowes. I have made the Ford spring towers out of aluminum by annealing it and tapping it over a resin buck of the part I'm coping.
To anneal it you take a torch and "carbon" (black soot) the aluminum up. Than heat the aluminum with the torch and cook off the Soot. Works well after you learn to anneal it. I'm laying out the Roth Yellow Fang body now. I'll post the build when I start. Paul
|
|
|
|
Post by mustang1989 on Oct 10, 2020 5:55:14 GMT -6
Looking forward to seeing that Paul and thanks man.
|
|
|
|
Post by mustang1989 on Oct 22, 2020 11:16:17 GMT -6
I managed to get the engine installed and the headers painted and attached. Added a small amount of blueing to the end of the exhaust outlets. Not much.....just enough for effect. I also painted and installed the driveshaft. About all that's left here is to fabricate some steering linkage and the bottom side will be done save for some scratch built wheelie bars. 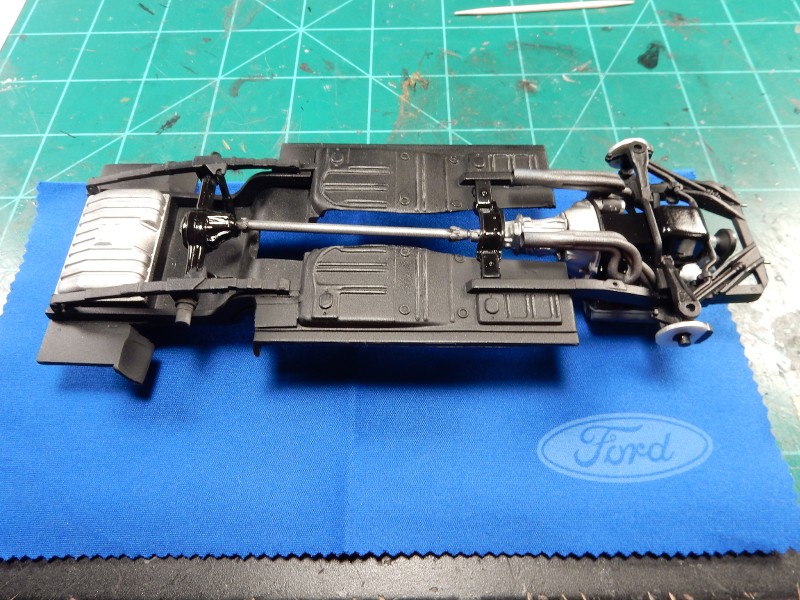 |
|
|
|
Post by mustang1989 on Nov 12, 2020 20:43:38 GMT -6
Still some tweeking left to do with the spark plug wire "boots" in the way of shortening them some but you get the idea behind the method. Over the course of the last week I've been at it again as far as engineering goes. I chucked up several of these pins that I have in the drill and ground the ends against a file to reduce the diameter of the pin heads. 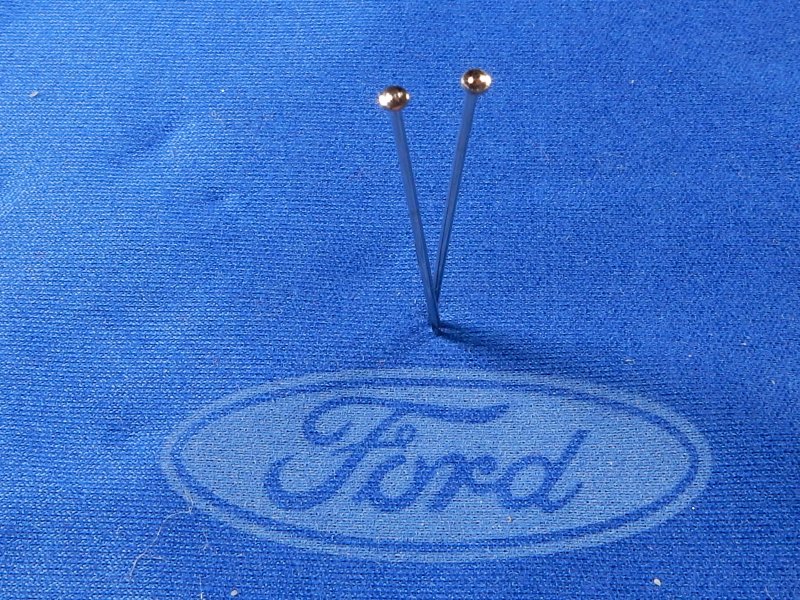 Then I cut all of the down to the same length (which they still need a little shortening). 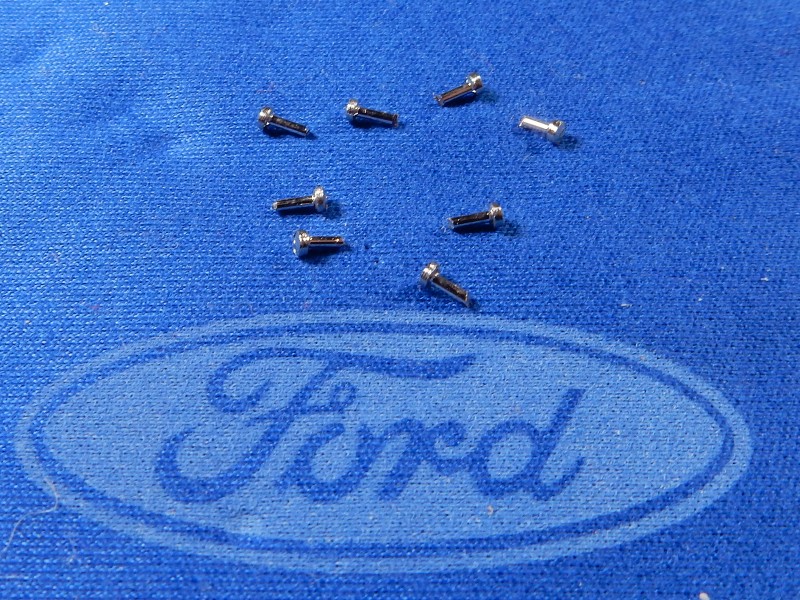 And here the plug wire boots test fitted into place. Just gotta shorten them some and then paint them semi gloss black and they'll be fully prepped for the wire install. (Part of what's been stalling this is waiting on the ignition wire to arrive in the mail which happened yesterday so forward we go) ... 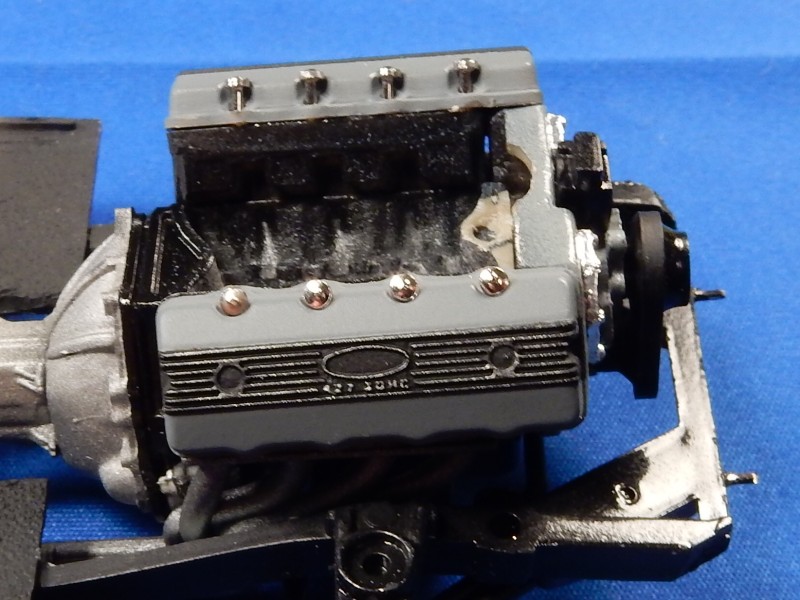 |
|
|
|
Post by mustang1989 on Nov 14, 2020 7:15:20 GMT -6
Managed to get all the ignition wires formed and installed over the last couple of days. This is NOT what I was opting for because these wires should be red but the "spark plug wire" that I got sent was the scale size of a battery cable so I went for orange.  |
|
stevielewis
Junior Dragster Champion
 Is that....?! What I think that is....?
Posts: 341
|
Post by stevielewis on Nov 14, 2020 15:13:21 GMT -6
Looks good to me!
|
|
|
|
Post by mustang1989 on Nov 21, 2020 10:44:53 GMT -6
Thanks Steve!! I just didn't like how the "magneto" on the engine looked and it wasn't "correct" for the build so I removed it and went with a regular coil. I also dirtied up the ignition wires as well. Before: After: 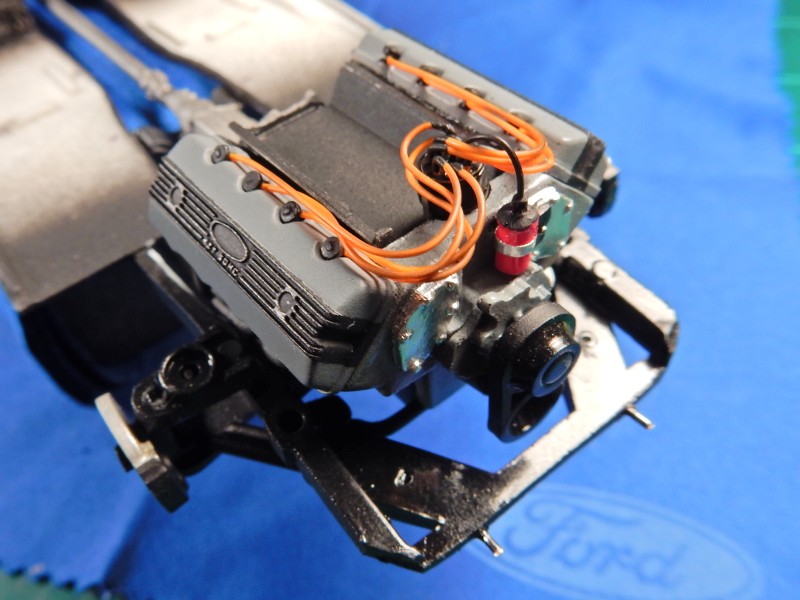 |
|
stevielewis
Junior Dragster Champion
Is that....?! What I think that is....?
Posts: 341
|
Post by stevielewis on Nov 22, 2020 7:03:44 GMT -6
In the before pic, I wasn't sure what the squarish shape in front of the distributor was supposed to be. I'm glad you went with the round "coil" instead. It is more period correct.
|
|
|
|
Post by 41chevy on Nov 22, 2020 11:16:53 GMT -6
The square "thing" is a Mallory Voltmaster Transformer for Mallory's Breakerless captive discharge ignition system. Goes back to the early 1960s. In the day most all F/C and Fuelers ran the system. Had full 50,000 spark voltage from just off idle to peak rpm with out point bounce at mid to high RPM. Kit is missing the control box for the system, generally mounted in fender apron, With out the correct painting and markings they look fake.    |
|
stevielewis
Junior Dragster Champion
Is that....?! What I think that is....?
Posts: 341
|
Post by stevielewis on Nov 22, 2020 11:53:34 GMT -6
I guess I stand corrected on the coil. Thanks Paul.
|
|
|
|
Post by 41chevy on Nov 23, 2020 12:08:02 GMT -6
I guess I stand corrected on the coil. Thanks Paul. Not many people who were not "involved" would know what the unit was. Pretty advanced when it came out with a photo cell replacing the point sets. GM offered the system from 1963 up to about 1970 as "transistorized ignition" on performance cars. Wasn't too popular.  |
|


